I think I am going to do my nails everyday till Valentine's Day. I can't decide on how I want my nails to be for Valentine's Day so I'll just give them all a try!
I will start with stripes with hearts and arrows.
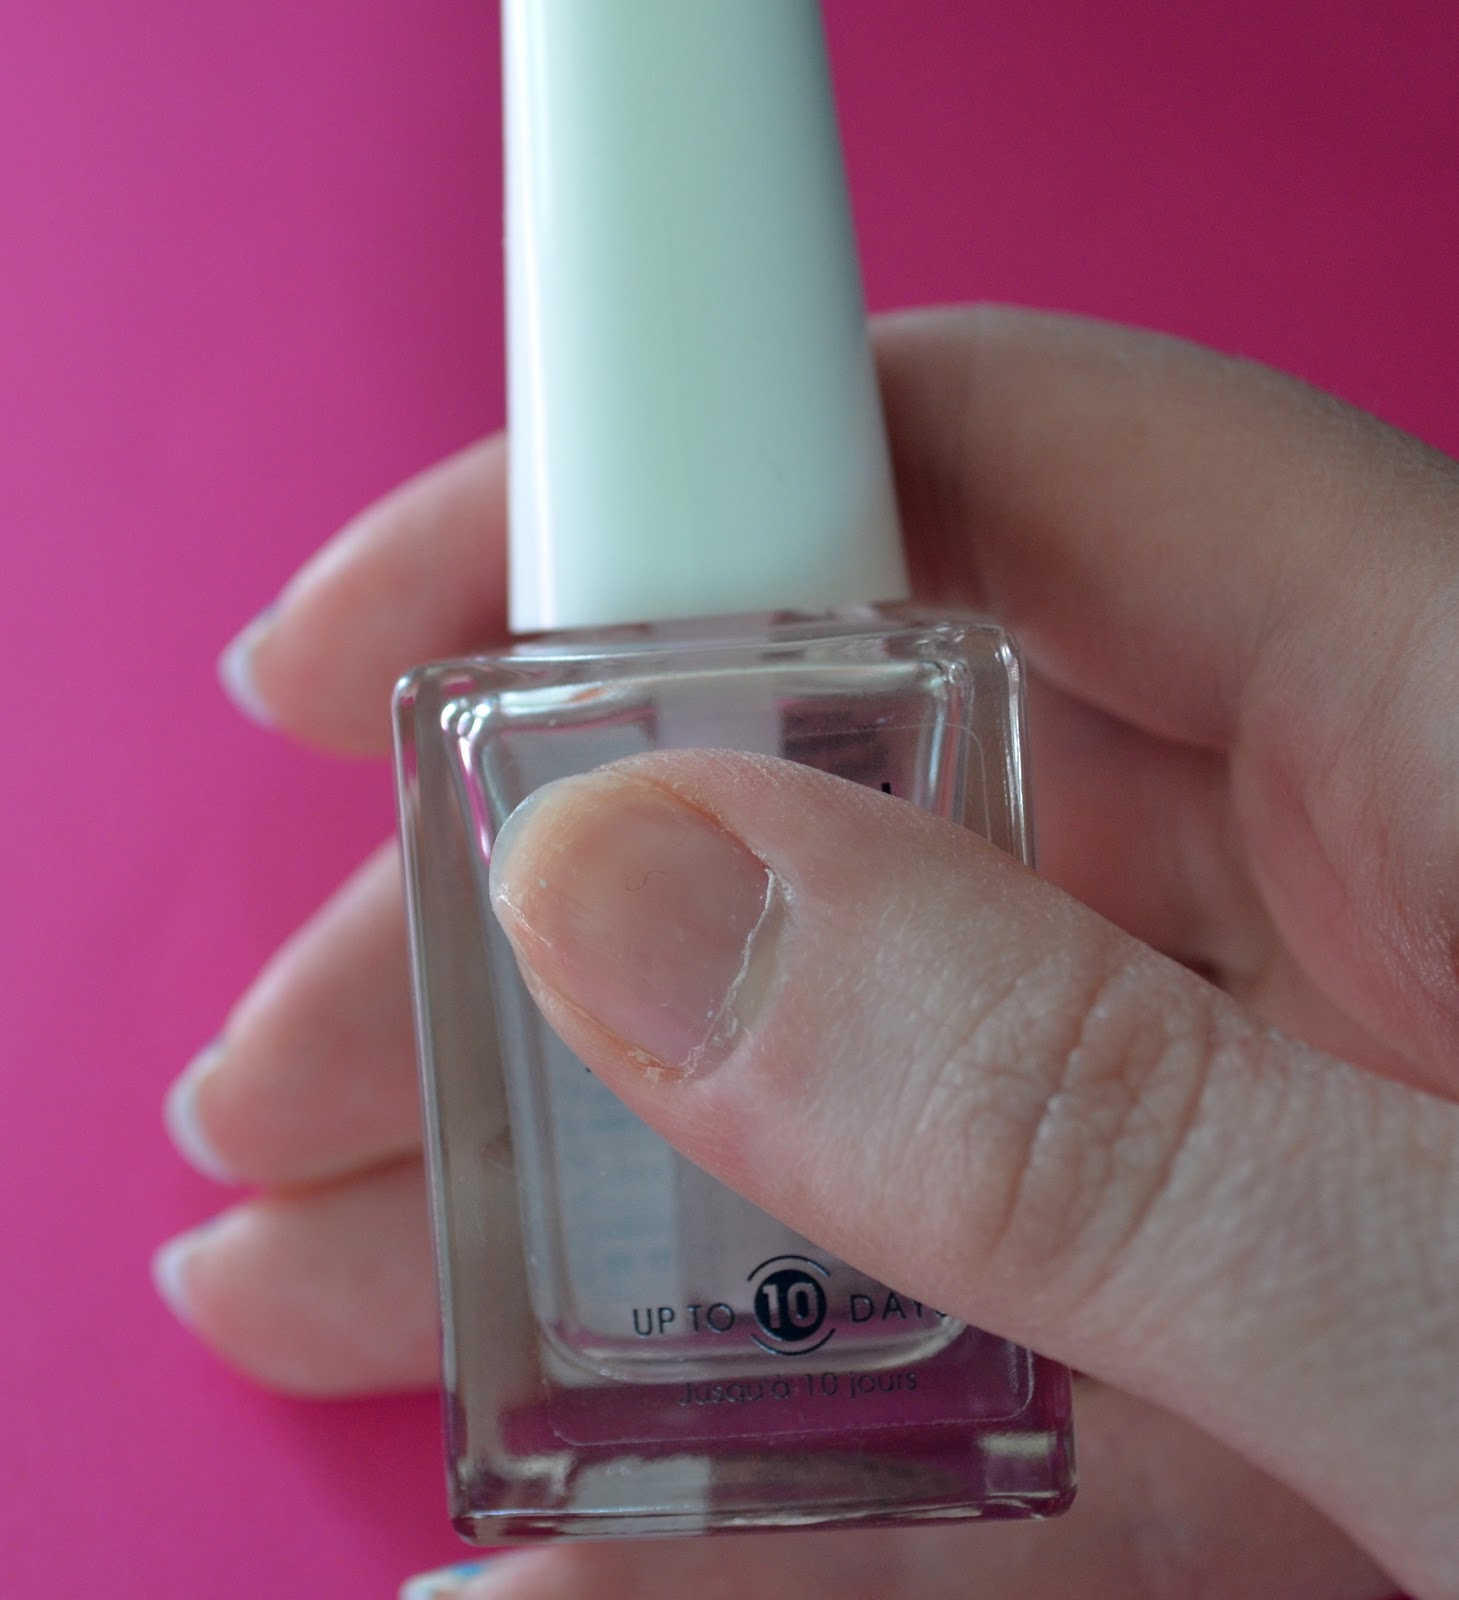
Here's what you'll need: A top coat (I use Sally Hansen Dries Instantly,
dries in about 30 second), feature colors for your lines, a base
color, nail stickers, & a head pin/toothpick if you don't have a polish pen or the "nail art" polish bottles. Go wild with picking
out colors, I went with red and blue because blue is my boyfriend's
favorite color and red is for Valentine's Day...I also wanted to finally use my matte polish.
All I used.
First, prep for your manicure, to make it last longer. Remove your old
polish, if any, and soak your hands in warm water for a few minutes.
Trim your nails and push back your cuticles. Do not use lotions or oils on your hands, it may make the dry time longer.
Apply 2-3 coats of base color
I used Nails Inc. "Gatwick" Matte
Grab you main line color.
I used SinfulColors Nail Art "Oh Dear!" for my main line color
If yours doesn't have a fine tip you can use a toothpick.
Make an off centered line to the right or left, you will do the other
side from what you pick on your other hand.
I applied 2 coats to the line so you can see the blue color.
You can make the lines darker or thicker if you want.
Make your second line with a different color.
I went with Sally Hansen Nail Art Pen "Silver"
I like the fine brush polish better then the pens.
Too much or not enough polish came out with the pen
& I didn't get my lines as straight as I'd like.
Silver lines are not as nice but they are fine.
It really doesn't matter since I am going to do my nails over tomorrow.
You might have more skill with the pens then me.
Using the first color make your next line.
Make the line at the top of the nail but not the very tip.
Pick the sticker you want to use.
I went with a pink and blue heart with arrows for my ring fingers.
Blue heart for my left hand.
You can get these stickers at beauty supply stores like I did. You can also get them online, Target, Walgreens, or try any store that sells polish and press on nails.
Press down on the sticker and hold it for a few seconds.
Apply a top coat to the nail with the sticker. I am using the matte polish
so I only used a top coat on the nails with the stickers.
That's it, all done!
Thanks for having a look, hope you liked it and found it helpful!
Let me know if you give it a try or if you have any suggestions or questions.
It is very rare for me to not chip my nails or snag then while I am working on something. Since my nails have been playing nice with me I thought I'd let them shine as is with just a touch of color!
Here's what you'll need: A top coat (I use Rimmel Base and Top Coat), feature color for your line, a base color and a tooth pick if you don't have nail art polish. I used my top cot as my base since my nails have been looking extra fresh lately, I didn't want to cover them up!
First, prep for your manicure, to make it last longer. Remove your old
polish, if any, and soak your hands in warm water for a few minutes.
Trim your nails and push back your cuticles but don't cut them. Do not
use lotions or oils on your hands before you start, it may make the dry
time longer.
What I used.
Start by apply yous base coat.
After your nails are completely dry get your nail art polish.
Apply one or two coats along the whites of your nails where is grows out...
I haven't done anything to my nails for a few weeks since my hands keep getting hurt. My ring finger on my left hand had the nail split and broke right in the middle of the nail while playing football on Easter with my brother, cousin, cousin's lady & boyfriend. Good news though is that I caught the ball from like 20 feet away! It just grew back enough so I can paint it again. I also have some scratches & burns on my right hand right now, blah. I've missed having pretty nails :)
Here's what you'll need: A top coat (I use Sally Hansen Dries Instantly,
dries in about 30 second), a base
color, and nail stickers. Remove your old
polish, if any, and soak your hands in warm water for a few minutes.
Trim your nails and push back your cuticles but don't cut them. Do not
use lotions or oils on your hands before you start, it may make the dry
time longer.
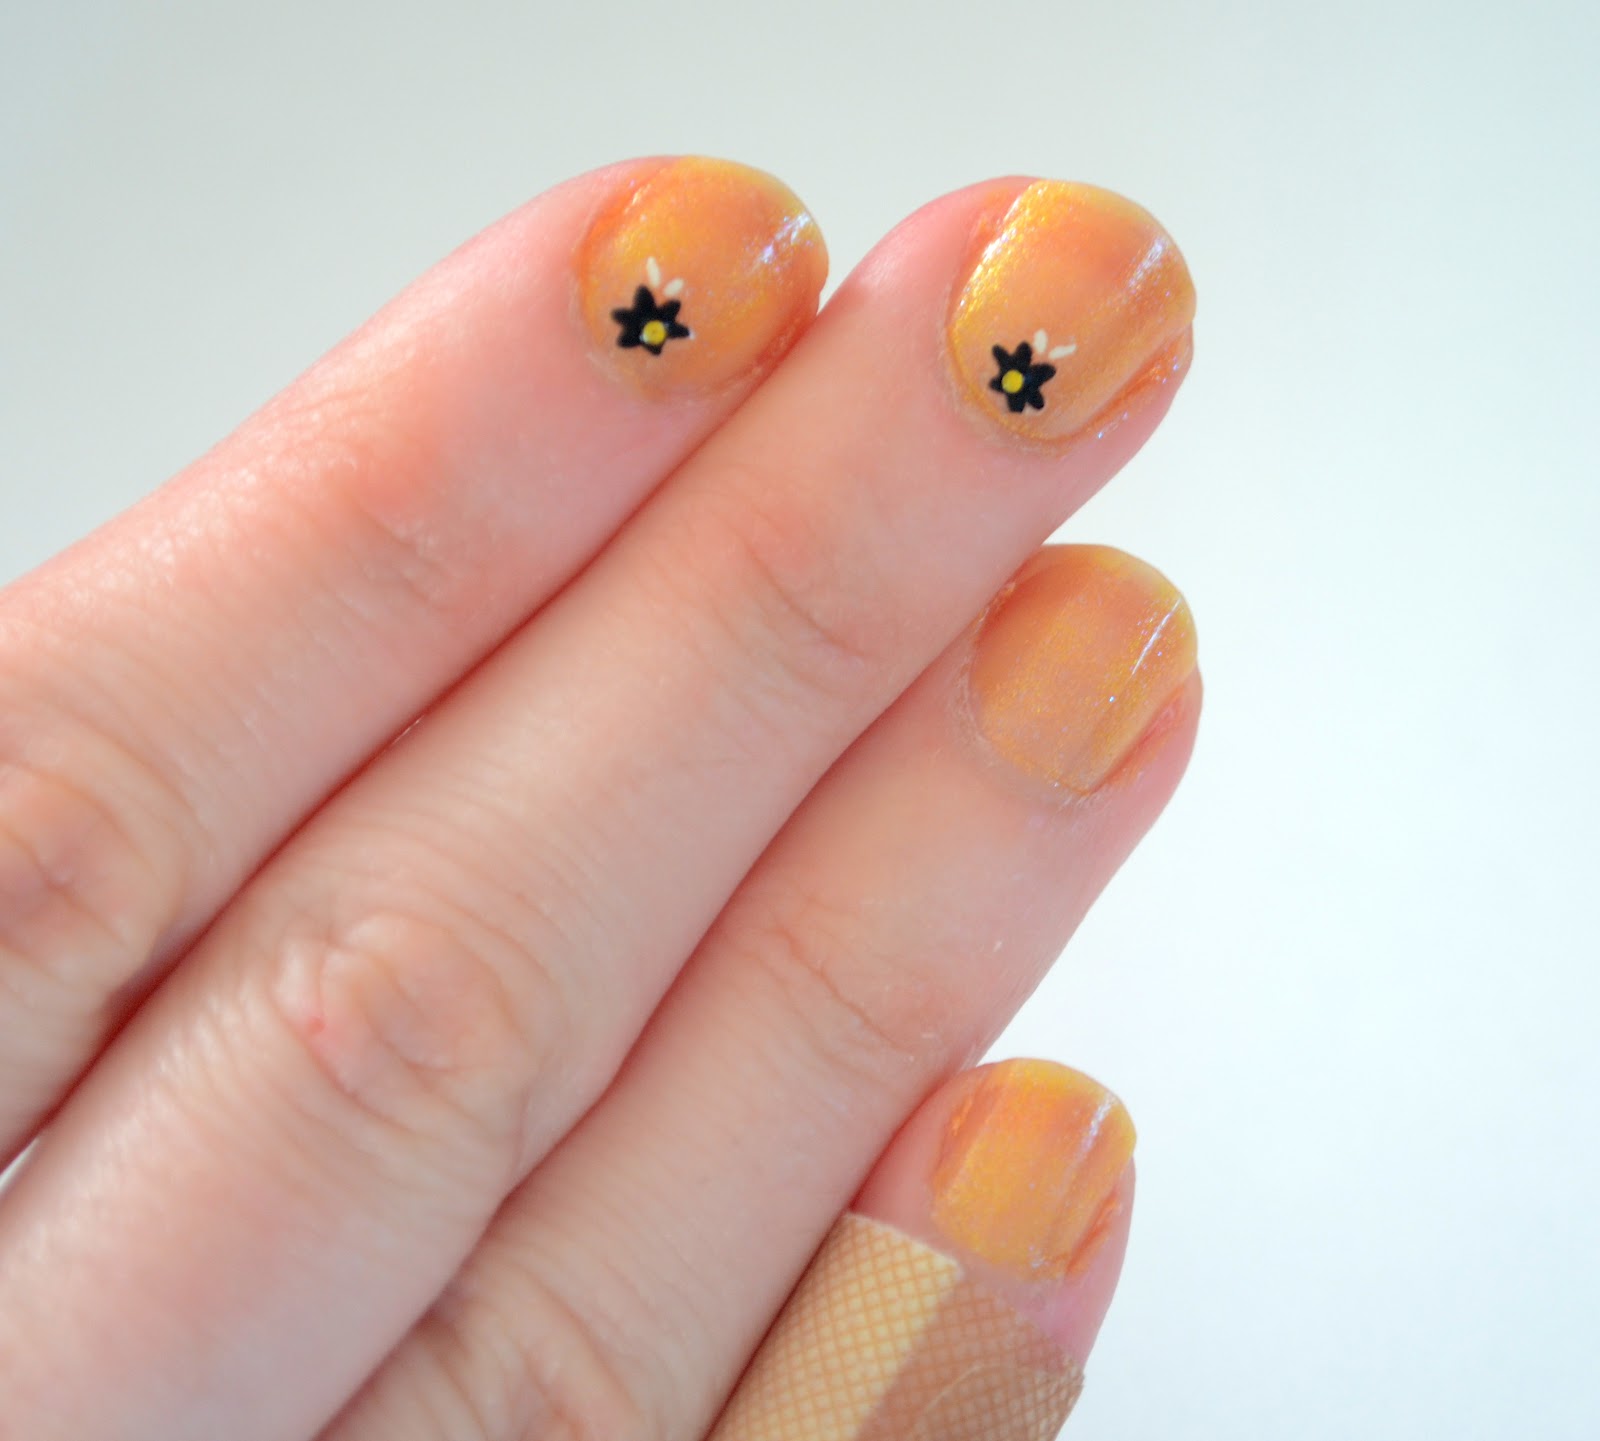
First, paint your nails with your base color. I went with gold since my stickers have a small gold charm on each flower. You can apply a couple coats if you want, I applied one coat because I wanted a softer look this time. Wait until your nails are completely dry before placing any stickers. You will be holding them down some and could mess up the paint job if they are not dry.
Grab the sticker you want on the nail. Try to grab it only by the tip on the sticker as seen in the picture below this one.
Think about where you want it on the nail before you place it on the nail, these stickers are sometimes very sticky and may mess up your paint job if you have to move it.
Place the sticker down with your finger. You want the sticker to be laying as flat as possible so it can be sealed in with the top coat and not get caught on anything or torn off if snagged.
Finish applying the sticker where you want them.
Then apply a coat or two of your top coat. If your stickers are thin one coat should be fine but if they are thicker you may want to apply more coats so the sticker don't get snagged on anything.
Done and done!
Click here to see how to make this bracelet!
Thanks for stopping by, hope you find this post helpful!
Julep February 2013 Maven Box & Glequins Nail Tutorial
My Julep box has come and I am so happy with all I got!
There was even a little surprise in a gold bag. to go with the Red Carpet A-List theme.
Oxygen Nail Treatment, Freedom Top Coat, Helen & Claudette.
An added gift that no one knew about is an eyelash curler & two chocolate hearts!
I like the size of the curler and although I only played with it I think it will replace my big old school one.
I love the box for the Oxygen Treatment with O2 all over the side.
And the inside of the Freedom Top Coat has Julep Logo inside!
Last month they introduced there "Swatch Me" stickers and I thought it was a little cheesy, I like nice clean bottles.The polish this month came with the stickers on top so I swatched them and I actually like it. Now I want to get more stickers to do the rest.
The Classic with a twist colors from this month. I was hoping for Valentine's day colors and thankfully my box came with. I had tried a few other styles other then what Julep suggested for me and was not as happy with the as I am with Classic with a twist so even if I think I will not like it I am only going to get Classic.
As you can see I started to do my nails, scroll down to see how I did it.
You will need Claudette and Helen, glitter pots with small or med sequins, dotting tool/tooth pick/or just anything to pick up the sequin, a top coat and your Freedom Top Coat and a piece of tape or something you can put a top of top coat on.
First, prep for your manicure, to make it last longer. Remove your old
polish, if any, and soak your hands in warm water for a few minutes.
Trim your nails and push back your cuticles but don't cut them. Do not
use lotions or oils on your hands before you start, it may make the dry
time longer.
I started my nails already so after your nails are clean apply a coat or two of your polish. I have Claudette on all but my ring finger where I put Helen.
Open your glitter pots, I find it easier to use the glitter from the lid. It is flat and easier to just pick up one.
If you are trying to add a little to you lid try not to spill the whole pot on your desk like I did.
Drop a small amount of polish on a wrapper or tape. I usually use a piece of tape but just use the wrapper for the eyelash curler that came in my box.
Lightly coat the nail you are working on with a top coat, try to use one that does not dry fast.
Pick up a very small amount of the top coat with your dotting tool, you will be using it to pick you the sequins.
Lightly tap the top of a sequin to pick it up, with the top coat at the end it should be easy to pick up.
Ready to go!
Put the first in the middle.
Using another color make a circle around the center.
And with a third color circle around the last color.
Finally, finish off with a last circle with the center color you started with.
Depending on your nail size you make need to do another circle.
In the light you can see a kind of spiral effect due to the circles and different colors used.
Apply your Freedom Top Coat and you are done!
This is my first time using Julep's Freedom Top Coat and I am in love with it, it is so nice. I tested it on polish with no sequins and it is like using gel! I didn't think it was going to be this good, I am differently going to now only use this top coat. I also love how fast it dried, I can not do last minute nails just before leaving my house like I always do with out having it smudge!
I love the February box, this is the only box so far that I already have plans to buy more of. I am hoping the top coat will be in this months secret store!
I have add-ons for this box that were just shipped, their new Holo polish. I can't wait to try those!