

Foiled Glass Bead & Silver Bracelets

You will need some kind of beading wire (I used Soft Flex Med 30lb wire), french wire, spacers/charms/beads, glass beads (four or five depending on the size), crimp beads, a clasp and jump rings.

Start with a few beads, they don't have to be the same size or shape. I think it adds to it if they are mixed matched and different sizes :)
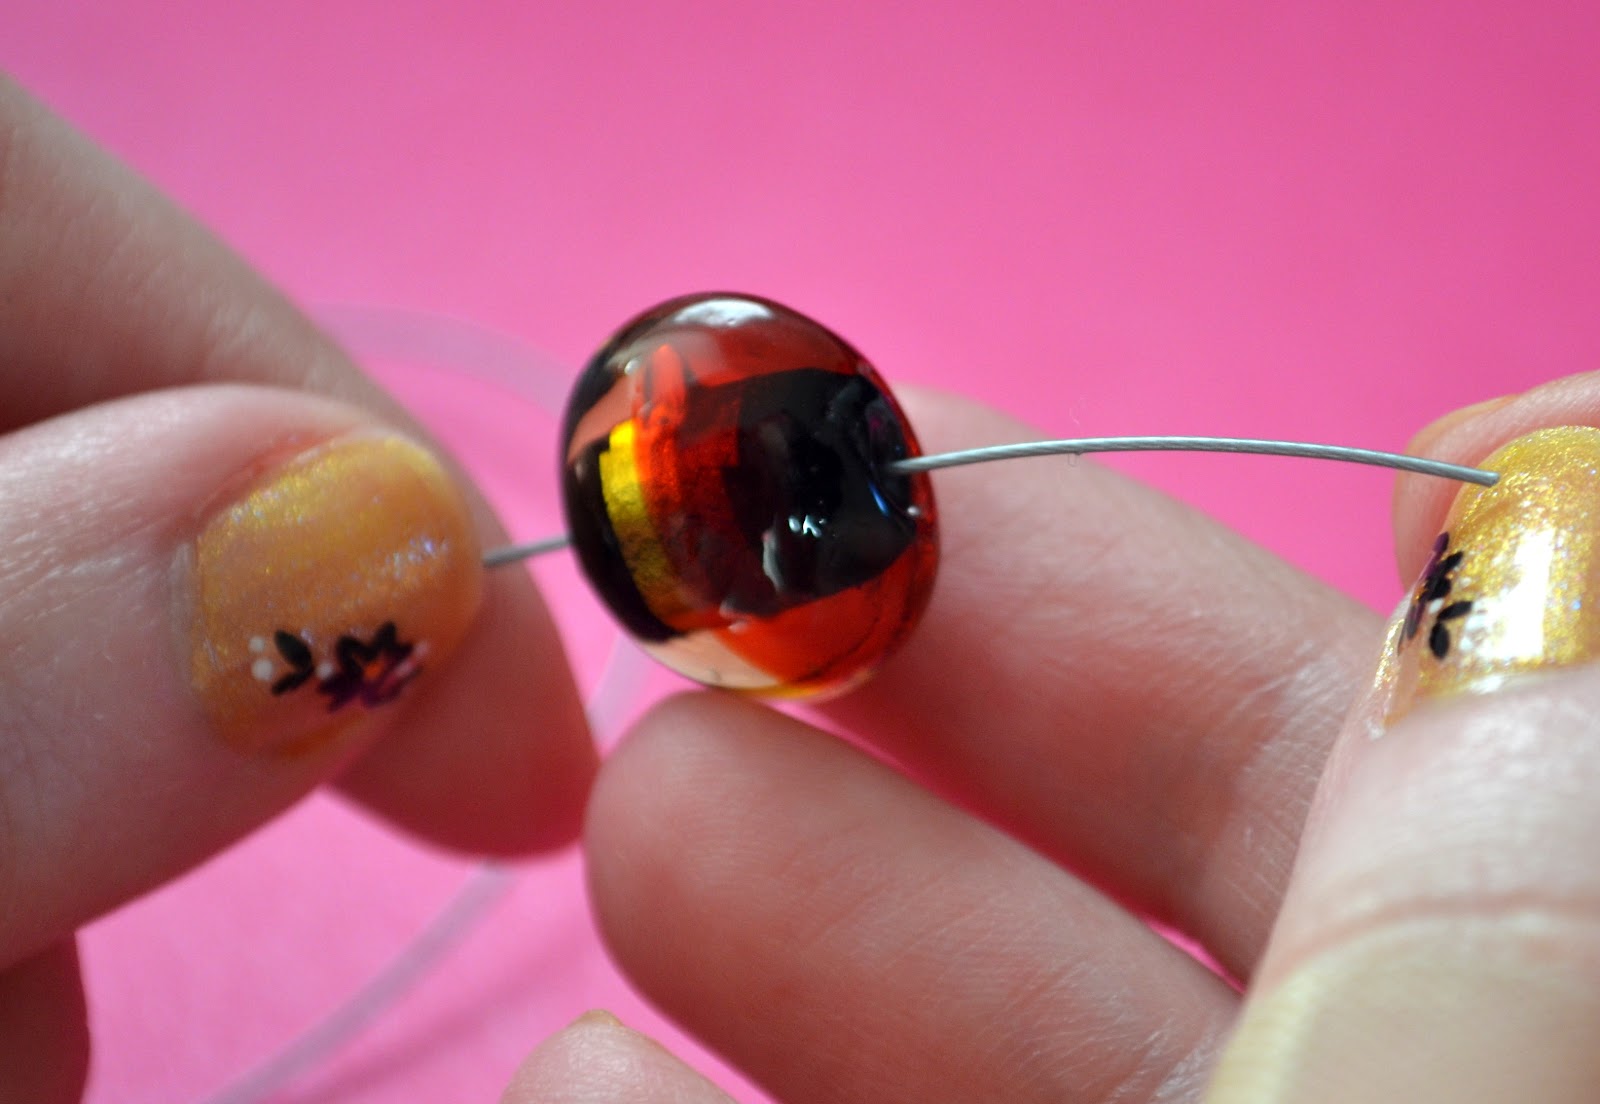
After you have a few spacer beads on your wire place you first big bead.

With the second group of spacers start adding your larger ones, they will be more likely to be seen while being worn so add a few to this group and the next couple. Do this again until you have your 4-5 big beads on the wire and are ready finish.

This little guy is french wire, a thin wire tub. I found out about this guy while working at a jewelry store 9 years ago and feel in love with it, I never make any beading/knotting anything without it. I have noticed lots of beaders use it but a few newbies don't so if you are in the few start using it! It will make the finished product look more professionally done and will keep your findings from rubbing on your wire.

I always do about a finger width of the french wire. You may like ore or less for your project. This stuff is kinda fragile so cut it with sharp wire cutters, cut fast and hard so you get a clean up and don't unravel what you just cut or the rest of your wire.

I always finish one end of the project before I cut it from the rest of the soft flex wire bundle. I can leave it and come back later or play with it to see if I need to make any changes before I continue.
Place one of your crimp beads (seen under my thumb nail) and then your french wire.

Ad a jump ring or your clasp to one end, flip your wire around and slide it in the crimp bead.

Pull the wires until your end is tight and everything looks neat. Try to leave some soft flex wire to work with but not too much so it isn't wasted. I always slide of of the soft flex in a bead or two to help it from sticking out or bending funny after you crimp the crimp bead.

Try now to pull too hard before crimping the bead, you don't want to squish your french wire. Once you are happy with the look of the end grab a flat pair of pliers or your crimp bead pliers if you use those. Wait to cut the extra wire till the end... if you want.

I measure out about three fingers width of wire on the other end to cut.

After you cut the wire place your crimp bead and french wire

Pull the wire like before, make the bracelet tight enough so that while you are wearing it you wont see the wire. Be careful to not ruin the french wire while pulling. Place some of the wire under a few beads. Don't put it under too many beads though or the bracelet will be stiff.

After you crimp the bead and like the look of the bracelet cut the extra wire. Pull the wire as pictured so your get a clean and close cut. You want to make you you can tuck the end of the wire under a few beads so it doesn't show or poke you while you are wearing it.

Cut!

Done and done!

It measures out to 7.5" long. You can make it longer or adjustable by adding a few jump rings or measuring as you go if you have one size in mind.


You can see more pictures of this on my etsy page.

Click on this picture if you like the nails and want to see the how to for them!
Hope you like the bracelet and tutorial, let me know if you give it a try.
Thanks for stopping by!


No comments:
Post a Comment