
Nail Art Tape & Sequins Tutorial

I've seen this look a few times and every time I kept thinking I have that glitter, I should do that! I haven't done anything with my nails for about two weeks so I thought now is the time to do the sequin nails, I have put it off enough!

I gave it a try and I am very happy with how it came out, my ring finger is a little messy but I still like it.
Here's what you'll need: A top coat
(I use Rimmel Base and Top Coat), base color, sequins glitter, & nail art tape.
First, prep for your manicure, to make it last longer. Remove your old
polish, if any, and soak your hands in warm water for a few minutes.
Trim your nails and push back your cuticles but don't cut them. Do not
use lotions or oils on your hands before you start, it may make the dry
time longer.

Apply one or two coats of your base color.
*I waited till it was dry to apply the glitter but next time I will try it while still wet.

With a little clear polish on your toothpick pick up a piece of glitter.

Apply the glitter to your nail.
*As you can see in my picture it is starting to get messy. I put some clear polish on my nail and picked up the glitter with more clear polish. I think if the polish was a little wet still it would have come out better since I would be using less clear. Either start while still wet or apply a coat of clear before I start.

Continue adding sequins until you are happy with the look. If any sequins is longer then your nail just gingerly trim it with your nail clippers.

Apply half of your index finger with glitter.

Cut off some tape from your roll. Apply one end as close as you can to the edge of your nail and trim the other side.

Add one glitter to the bottom of you nail beds.
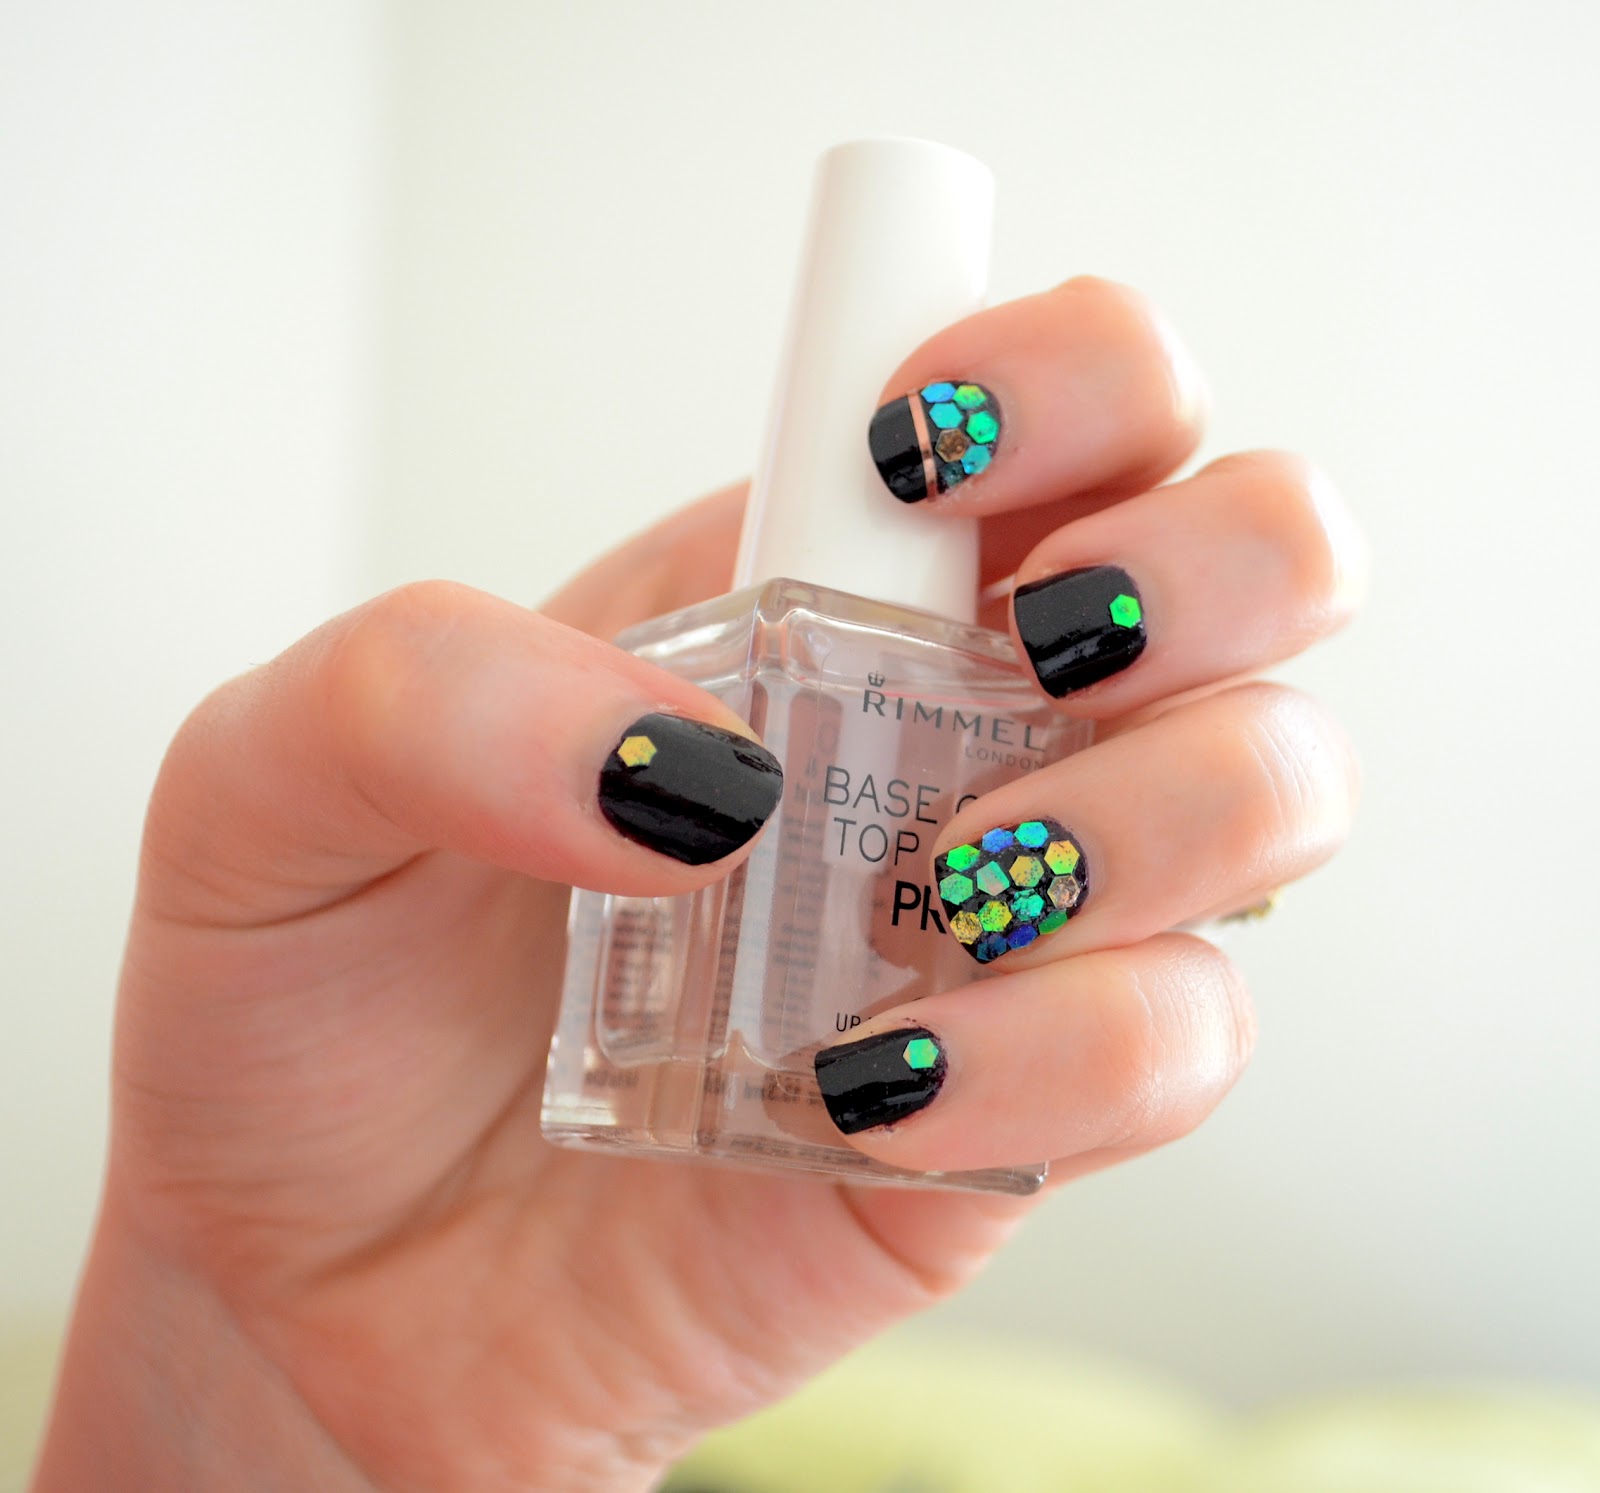
Apply your top coat and you are done!
Hope you enjoy, feel free to come back and share if you give it a try!
Like it? Pin it!


No comments:
Post a Comment