
Me and my fiance Rob have been together for 3 year next month and in that time we have taken very few pictures together... I could name them all actually since there are about 10. We are both "see threw your own eyes" kinda people it seems so we never think to take our camera or even just pull our phones out. And when we do take pictures Rob usually makes a funny face.
My favorite moment of us trying to take pictures is when we went to La Brea Tar Pits in January and I made a point take the camera to have a picture taken with him. It was my birthday so my little bro Greg came with and while we were walking around I saw a neat tree in a sunny spot and told my brother to take a picture of us. As soon as he said smile I noticed bees in the tree so I looked up! They asked what I was looking at and Greg said he was going to take another. I told them about the bees and told him to do it fast do we can move, as soon as he took the next picture Rob looked up!
 I saw bees...
 then he saw bees.
My favorite picture(s) of us is from the OC fair last year when we jumped in a photo booth
 Anyway, I had bought two matching frames a few months ago. I had a drawing I did of my Rob in one on my desk already & I wanted to put a picture of us in the other for my desk too but thought the gold was kinda boring so I spiced it up some.
My favorite moment of us trying to take pictures is when we went to La Brea Tar Pits in January and I made a point take the camera to have a picture taken with him. It was my birthday so my little bro Greg came with and while we were walking around I saw a neat tree in a sunny spot and told my brother to take a picture of us. As soon as he said smile I noticed bees in the tree so I looked up! They asked what I was looking at and Greg said he was going to take another. I told them about the bees and told him to do it fast do we can move, as soon as he took the next picture Rob looked up!
My favorite picture(s) of us is from the OC fair last year when we jumped in a photo booth


What you will need:
Paint-
you will need at least 2 colors & I suggest a white for your base. I used polish because I liked the colors I have more then the paint I have and it dries glossy.
Sponges-
You can use a paper towel or any type of sponge you like. I used a few makeup sponges, You can buy a bag for pretty cheap at most store. I picked up mine at Rite-Aid for about $2.
Frames-
I saw these cute little frames at a crafts store so I got a few.
Maybe Tape-
I did not need to use tape but depending on your project you may have things you need to tape off so paint doesn't get on it.

Start by taking out, off or tape up any thing you don't want paint on.

Apply your white paint to your sponge.

Go around the frame with the white polish/paint. My second color will color the gold with no problems so I just covered enough so my first color will be nice and bright. You can paint white over your whole frame if needed.

Apply as many coats as needed, I have 2 coats. Let it dry or a minute.

Apply your next color on the sponge.
As you can see in my pictures the gold color started to bleed on my sponge.
As you can see in my pictures the gold color started to bleed on my sponge.

Apply over the white.

Let sit for just a min.

On a new sponge apply your second color, you can use the same sponge if you want. I did a few things so I used a few sponges.

Sponge the polish along the outside meeting the green in the middle.
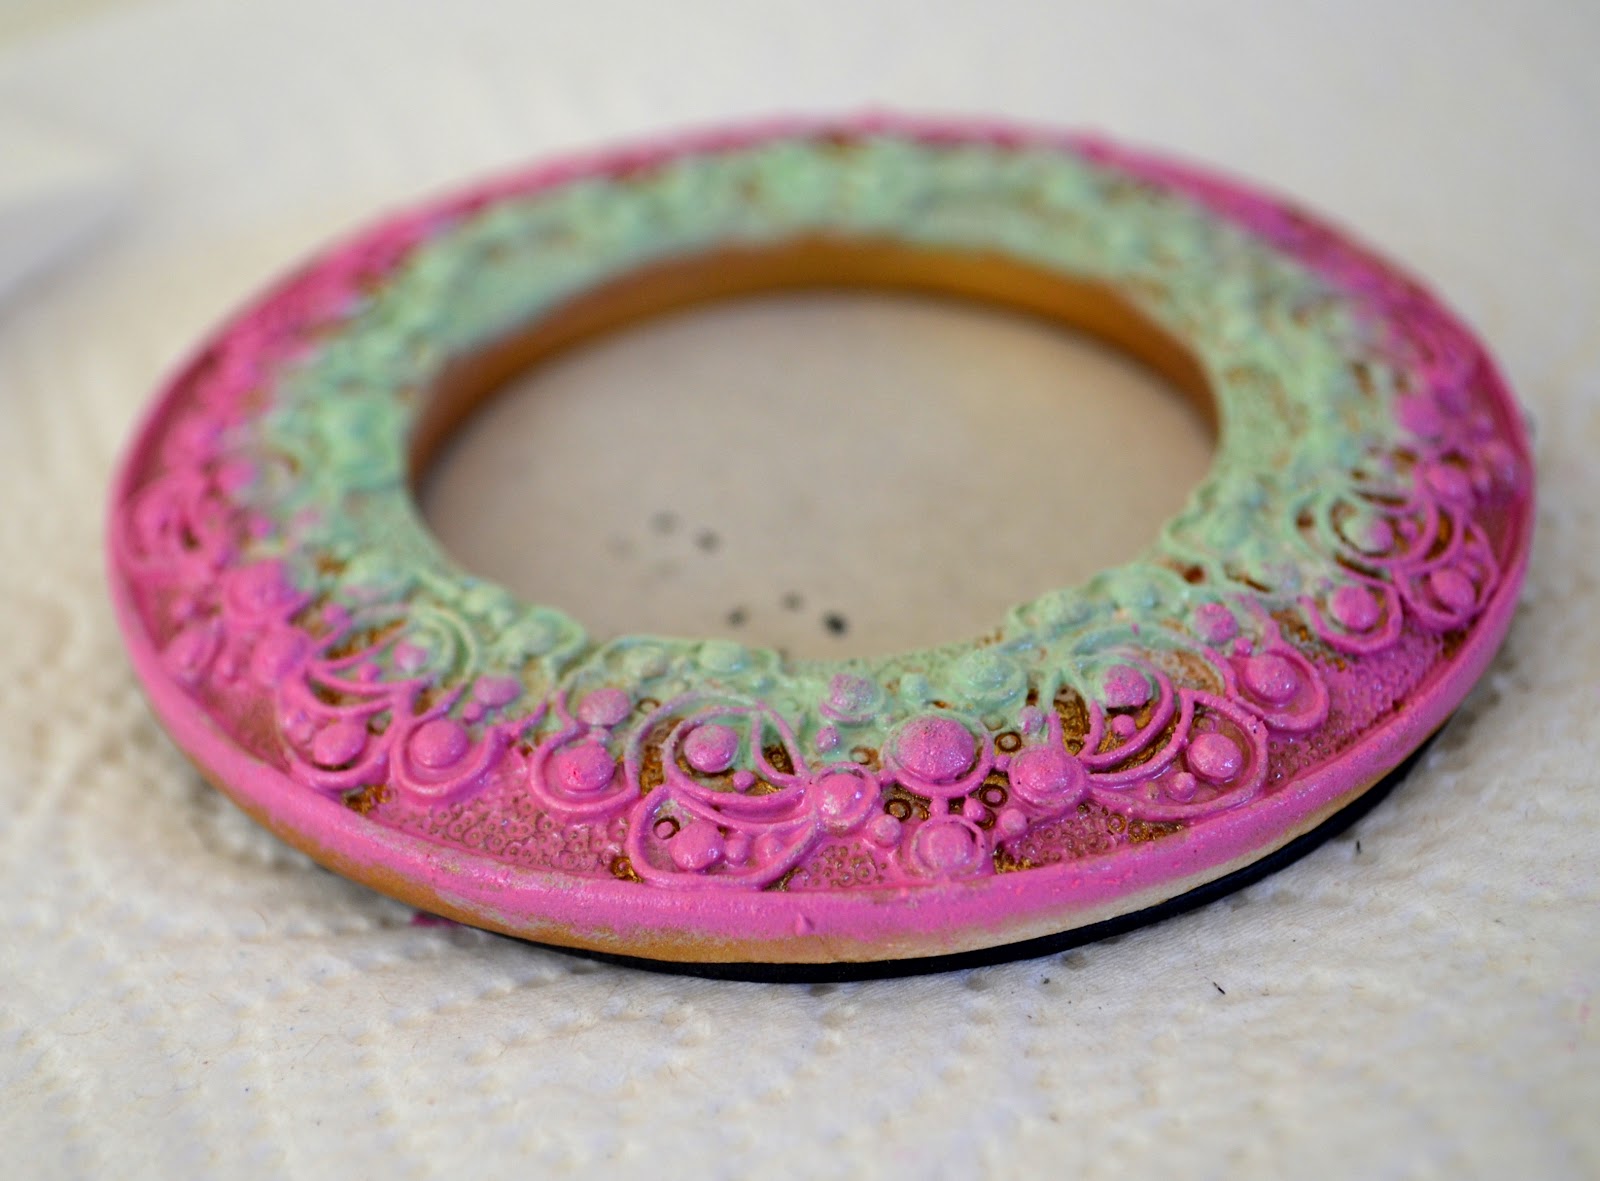
Almost done, let that dry for a min.

Now to bring the colors together!
Start on the color your are you using on the sponge or dab some of the color off before starting so you don't get too much on the color you are covering. Lightly dab over the second color.
Start on the color your are you using on the sponge or dab some of the color off before starting so you don't get too much on the color you are covering. Lightly dab over the second color.

I did 2 frames, I really like how this one turned out :)


No comments:
Post a Comment