 |
| St Paddy's Nails! |
This is how I had my nails a few days ago. They came out alright but they were messy & then I kept picking at my nails and they became chipped... so I had to do them over! I also got a new file so I wanted to fix my nails.
Here's what you'll need: A top coat (I use Sally Hansen Dries Instantly,
dries in about 30 second), feature colors for your dots and faded colors, a base
color, a sponge. Go wild with picking
out colors, I went with green and gold for St. Patrick's Day.
First, prep for your manicure, to make it last longer. Remove your old
polish, if any, and soak your hands in warm water for a few minutes.
Trim your nails and push back your cuticles but don't cut them. Do not
use lotions or oils on your hands before you start, it may make the dry
time longer.
Try using the manicure file with the different sides after you've had your hands soaking in warm water. It helps smooth away the ridges in your nails for a longer lasting and better looking manicure.
 |
| Go across the base of your nail for a cleaner look. |
For a more professional look try making your first swipe at the base of your nail without getting polish on your cuticles. I started doing this and the nails really come out so much nicer.
 |
| No polish on the sides or cuticles :) |
Apply one or two coats of you base color.
 |
| Starting from the back always helps me! |
 |
| Next, grab your sponge. I used a makeup sponge. |
I got a big cheap bag at the super market. You can cut it smaller if you want, it may be cleaner if the
piece is smaller.
 |
| Apply some of your polish to a corner of the sponge. |
 |
| I went light to dark for my fade but you can do a different combo. |
 |
| Tap the sponge on the nail. |
Don't go all the way to the cuticle, you want some of the base color to show.
 |
| Apply once or twice until you are happy with the color. |
 |
| I applied 2 coats of the first green. |
 |
| Apply the second color to the sponge. |
 |
| Apply the second color closer to the tips. |
Don't cover some of the first color.
 |
| Apply the second color until you are happy with the color. |
 |
| I added a 3rd color but it didn't show :( |
 |
| I'm using the brush from my nail art polish. |
You can use a toothpick if needed.
 |
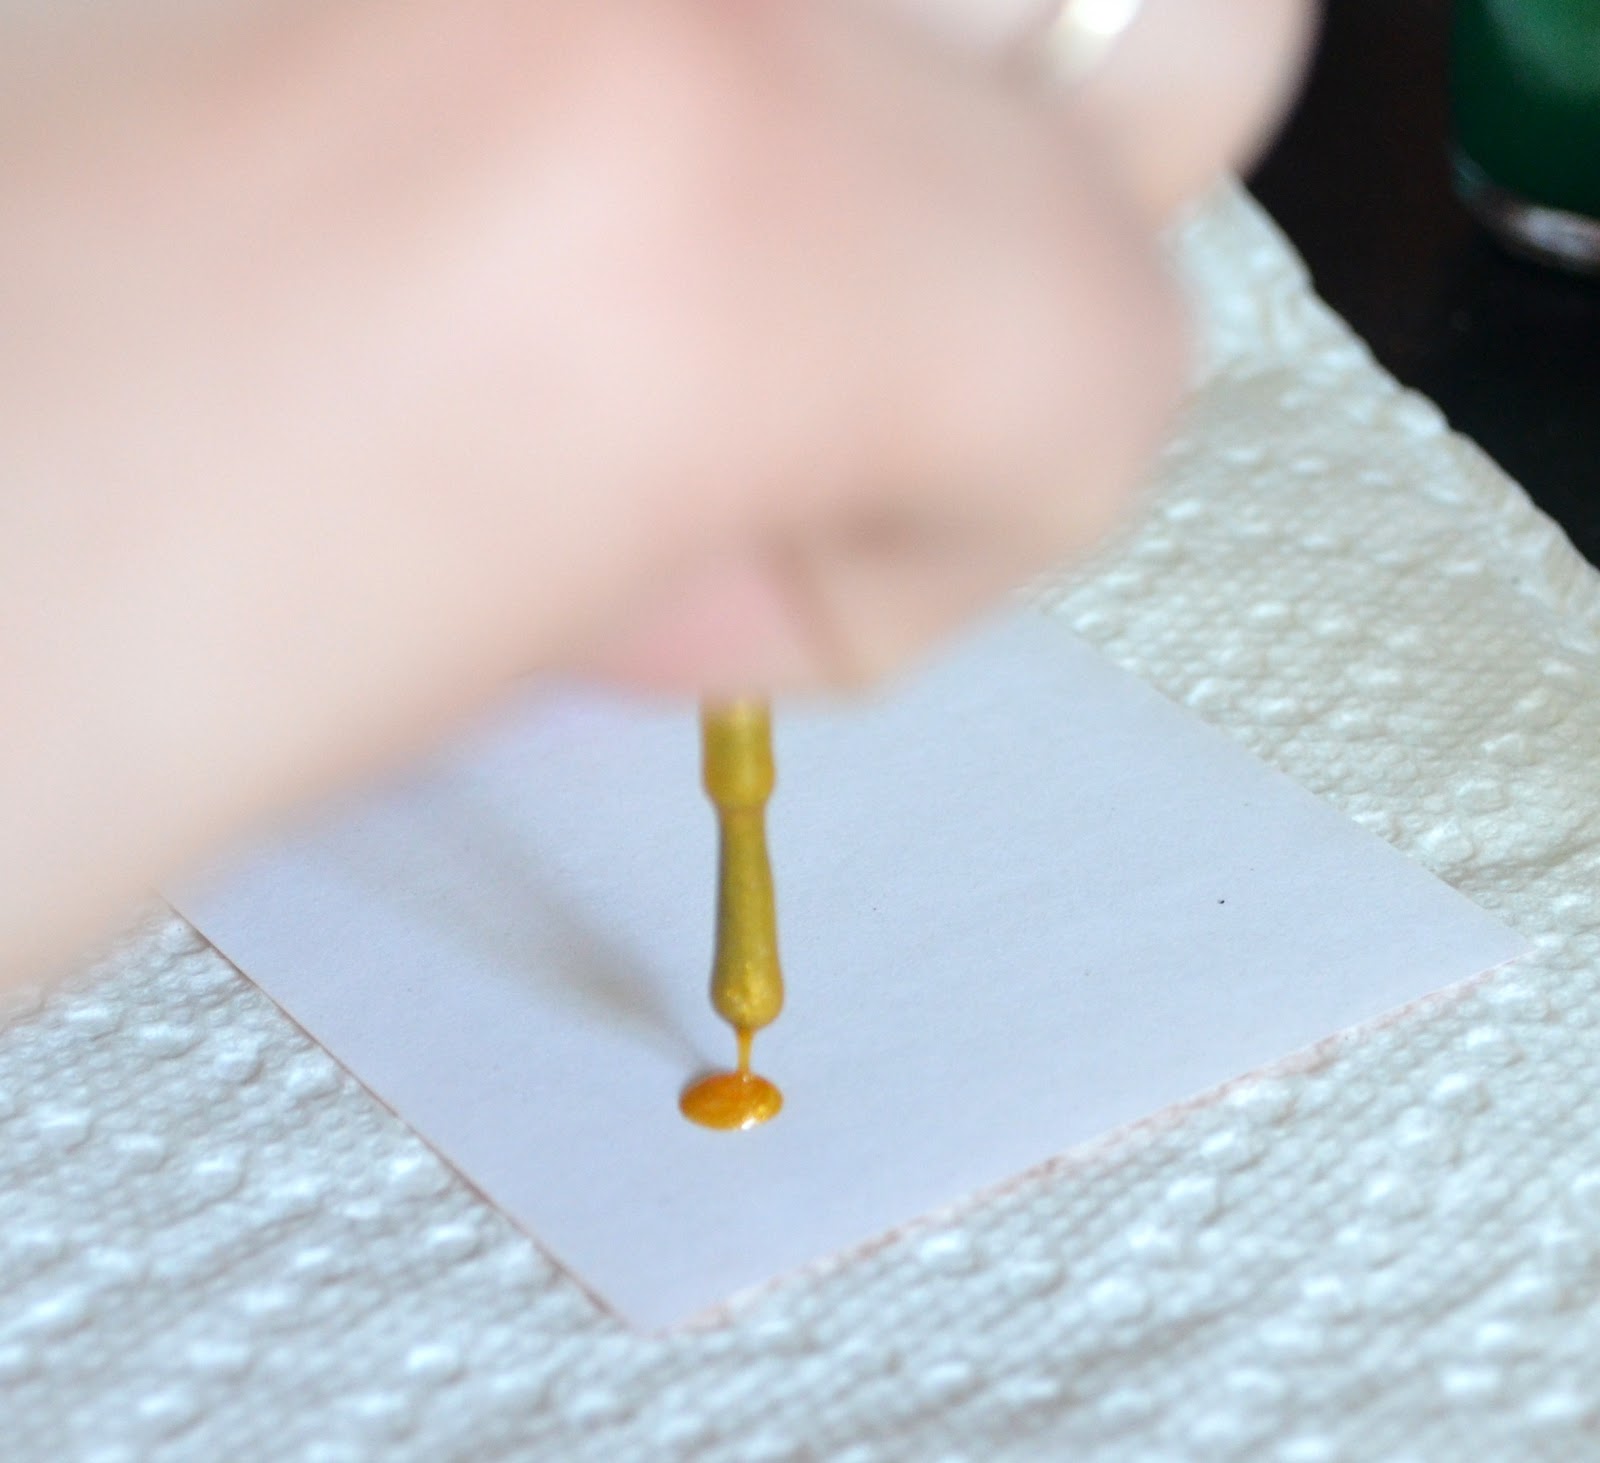
| Use the base color for your dots. |
 |
| I put some on a piece of paper so I can dip the brush. |
 |
| Tap your brush or toothpick in the polish. |
 |
| Start adding your dots. |
You can do other designs or use another color other then your base color.
 |
| I did half diagonally on my ring finger. |
 |
| Apply one or two coats of your top coat. |
 |
| I applied 2 coats. |
 |
| All done! |
 |
| Pretty! |
Thanks for looking
&
Happy Paddy's Day!
Let me know if you give it a shot!
Follow my blog for more nail & craft tutorial &
become a fan on facebook for updates on my blog and etsy shop!


No comments:
Post a Comment