Showing posts sorted by date for query nails. Sort by relevance Show all posts

Wednesday, December 5, 2012

December Julep Maven Box & I'm A Golden Box Winner!

I became a Maven only a couple months ago. I heard that they gave a few people every month a golden box with either the monthly collection or a big seller but seeing how I have only 2 monthly boxes under my belt I did not think I'd be seeing a golden box at my front door anytime soon. I received an extra tracking number with my monthly box but since I placed an order after my December Box I thought that thing were just shipped apart but boy was I wrong!

I felt like Charlie and the Chocolate Factory opening the bigger box and seeing a golden ribbon wrapped around a white box. I opened the box and saw that I was a lucky Maven!

I won the This limited-edition white lacquer jewelry box that includes a twelve polish set of toxin-free Julep nail colors hand-picked by Oprah herself (Oprah is really into pink it seems!) and a lovely green yarn wishbone bracelet.

The goodie boxes that came to my door, I always keep the boxes. They are very handing when you need to ship something, just the right size for most things I need to ship this Christmas too!

The December Box goodies.
 I went with American Beauty instead of my Classic with a Twist box and I am truth be told regretting it. I liked the look of Patti (the black polish) when I picked the box but once I got it and have it a try I am just not digging it. It may just be the wrong time of the year for it too though, I have Christmas on the mind and it just does not fit. This box also came with a freebie DIY ring for a holiday gift from Julep but sadly mine was broken when I opened the box. Julep will be sending me a replacement shortly though!
 *update* I got my ring, see what I did with it here! *update*

Julia oddly is my favorite from this box, I did not think I was going to like but I really do. I think this color is going to be great for New Years with my add-on Vivien.

Patti, Patti, Patti... oh Patti. I want to like you but you make it so hard to, you are just not a lovely polish.

The foot scrub is awesome, I had my fiance use it and he loves it too. I think he likes it more then me :)

The bracelet that with golden box. I almost bough this for myself on Black Friday but did not, I thought it was pretty neat that it came with the box. As you can see the colors match my engagement ring perfectly! From what I saw I was the only one that got green, looks like the other winners got purple.

The box is really awesome too, it is great as a jewelry box.

I have a tall standing jewelry box but this will be nice to have by my bed for my favorite pieces.

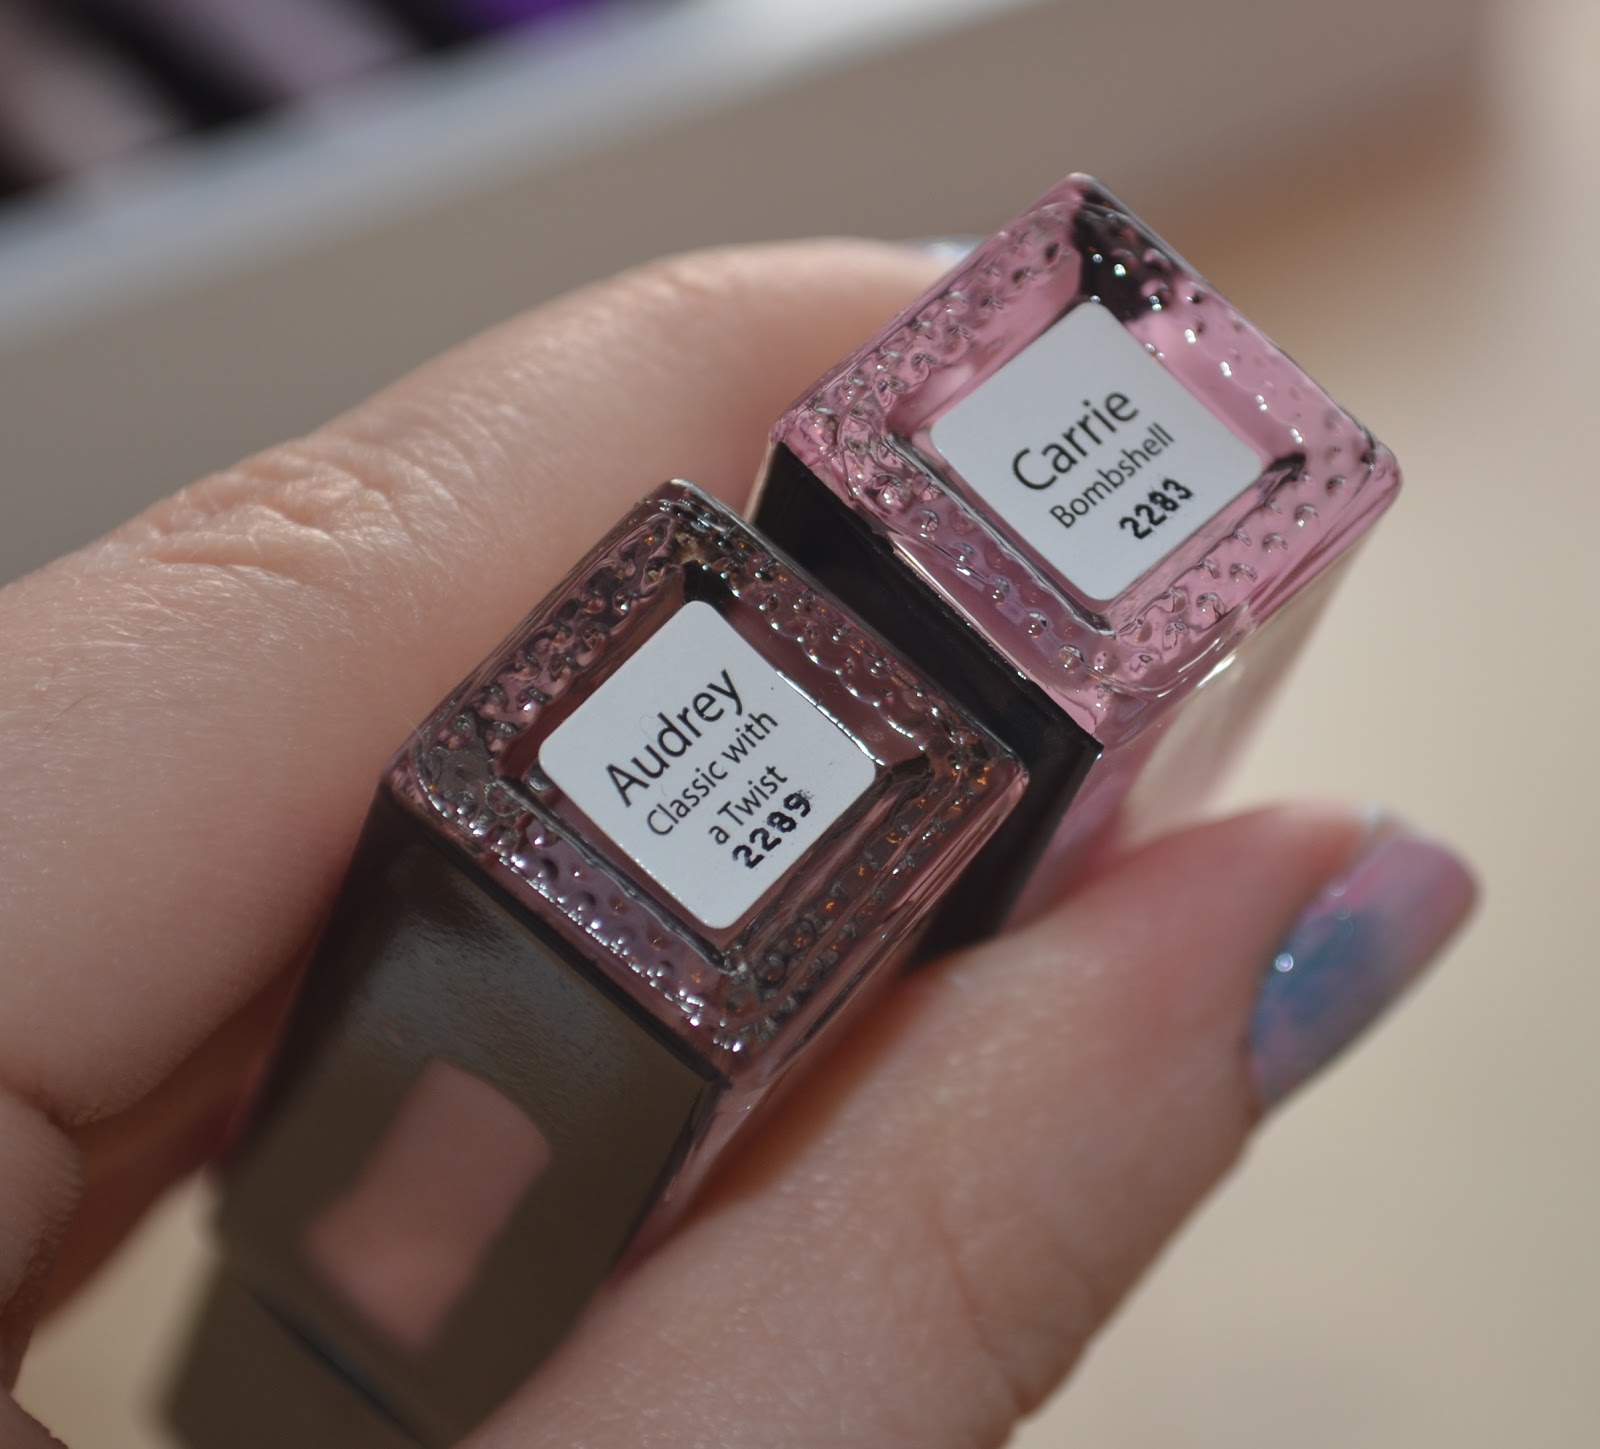
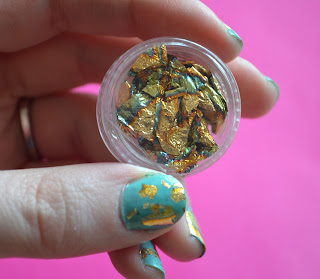
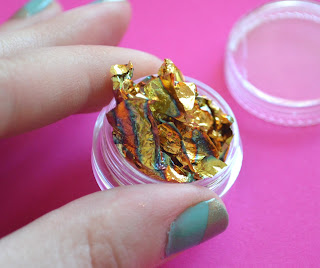
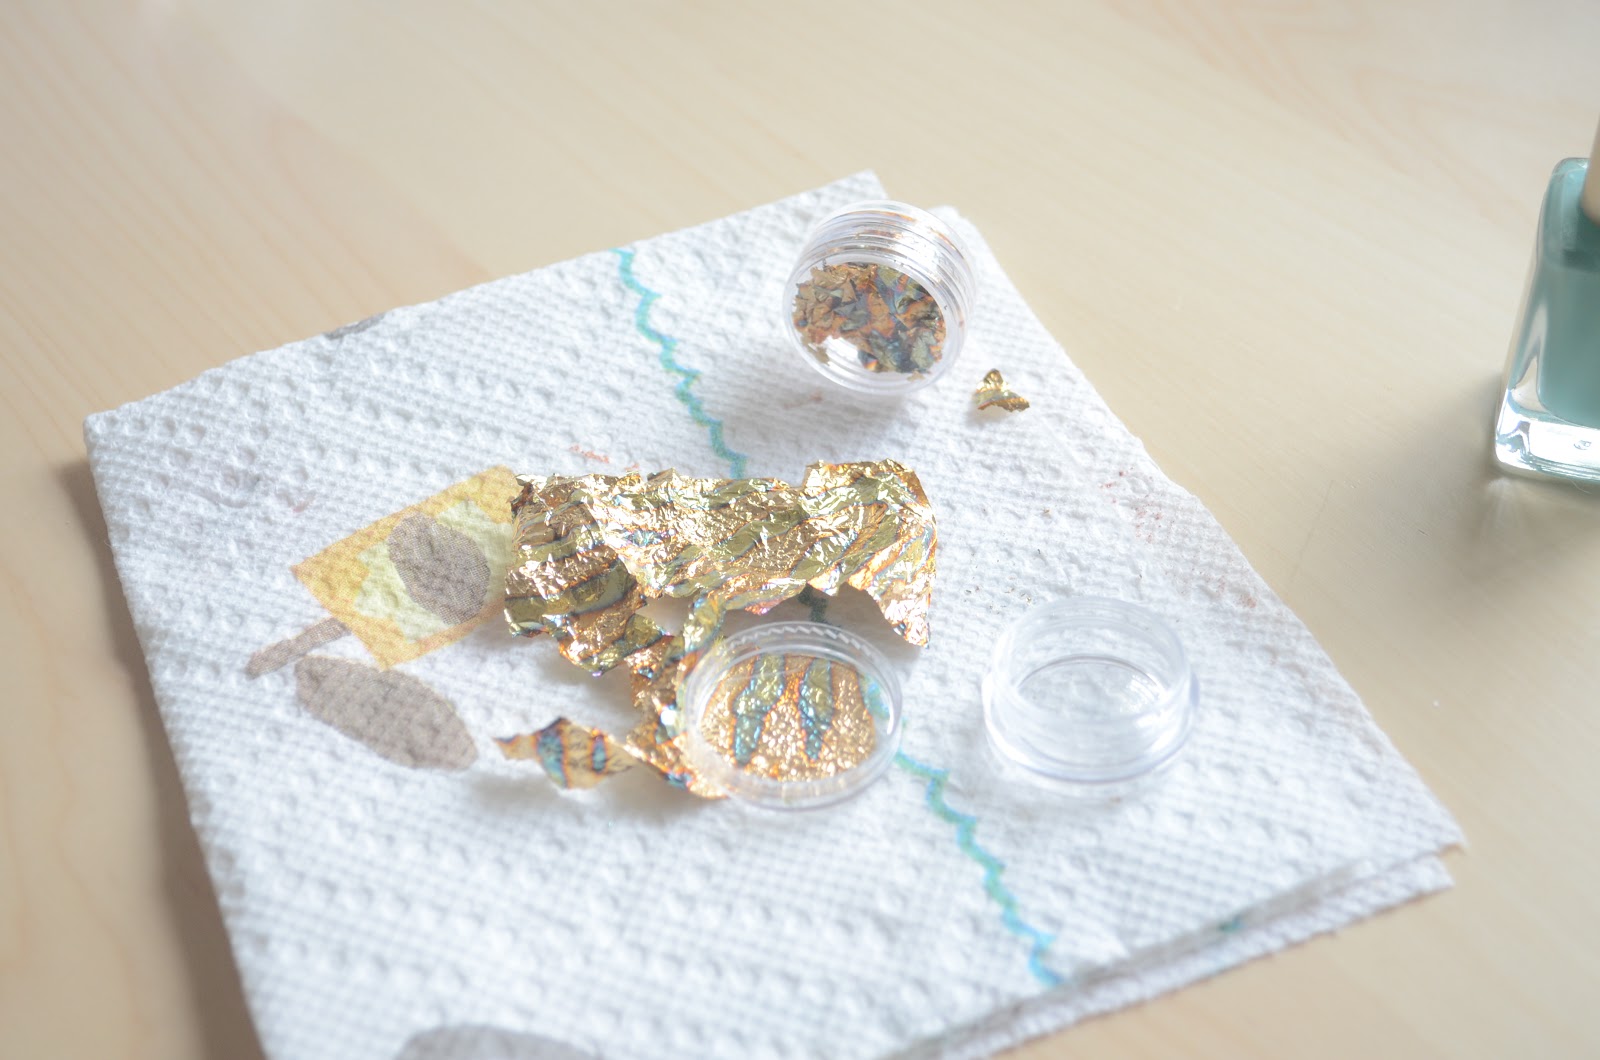
After that Patti business I needed something girly, soft and wintery... also needed to play with some of those colors from that lovely box! I applied Carrie as my base color, Audrey went just before my top cost.

I was thinking kinda a pink winter night so I used Amy as my sky and Susie as my snow.

Amy on top and Susie on sponge, after my base coat was dry I rolled it over my nails from side to side.

Audrey went one top to give it some shimmer and then I applied my top coat.

Clean up your nails and you are done!


Get the Favorite Things 2012 Nail Color Jewelry Box for half off!
Promo Code OPRAH
Regular Price: $168.00
$84 with code!
Join for you intro box here and use coupon code PENNY to get the first box for only a penny!
It is a monthly box but it can be skipped if you do not wish to have a box for that month and also can just be canceled at any time needed. For a chance at winning a golden box a monthly box is need to be bought, you are entered when you buy and the winners seem to be completely random.

Thanks for stopping by!
Feel free to leave a comment, I like em!


Tuesday, November 27, 2012

DIY Gold Foil Chip Nails


I recently picked up some foil to play with and for my etsy shop. I have been obsessed with blue and gold together so I was pretty excited to give it a try.
I went with a rainbow gold foil.
You can find this foil here.
The blue polish is Club Prive by L'Oreal Paris.
It unfolded by itself like magic!
Using a toothpick, dotting tool or your finger make a few pieces that you will be using. If you are using it om the whole nail then cut it into ten pieces to fit your nail. This stuff is fragile so be gentle with it.
Wet the end of your toothpick or dotting tool with water and apply the foil to you almost dry nail. I picked the pieces up with my finger tip but if you want to make sure it goes in the spot you want using a toothpick or dotting tool would be better.
Once the foil is on your nail press it down some, if you want a chipped look rub it around your nail lightly so you don't smudge you polish but you break smaller pieces off and move them around the nail.
The foil also just rubs off the skin so if you get some next to the nail but move it back to the nail so you don't waste any :)
Apply a coat or two of your favorite top coat and you are done! 

Thanks for stopping by!
 feel free to leave a comment, I like them :)

Friday, November 16, 2012

Repair your split or cracked nail with a tea bag!

How to repair your split or cracked nail with a tea bag.
 I don't know what I did but today I noticed that I have two chipped nails. Thankfully, a friend taught me a trick a few years back, you can repair the nail with a tea bag!

What you will need is a tea bag, nail glue/super glue/polish, scissors, file, and a chipped nail or two.
This is a pretty quick repair too, took me about 5 minutes with drying time :)
Ew.
Cut a small piece of your tea bag for you nail. I cut and used 3 pieces.
Let your cat smell a piece so she can see that what you are doing isn't that interesting and leave you alone. You can then get back to you nails.
I like to make sure the size is just right. If the piece does not stick you can lick your nail.. 
that's what I do.
After it is where you want it to be add a drop or two of your glue or polish. I would recommend glue over polish. Since the chip on my middle finger was kinda bad I used two pieces. I did one and let it dry then placed the second on and added more glue. I filed the tip once everything was dry.
 I used one piece for my index.
Paint right over your patch work.
 And you are done! 
You can do this every or every other day if needed so you don't have to cut back all over your nails, it will give some time to let the messed up nail grow without ruining the nail of your nails.
Cant even tell :)


Tuesday, November 13, 2012

Winter Inspired Pink Glitter Matte Nails

I got my Matte Top Coat add on from Julep last week, it came shortly after my November box!
I wanted to do something kinda wintry and this is what I came up with. I like how it came out but while everything was drying it kind of looked like Elmer's glue mixed with glitter so now that's all I can think off!
Pink Glitter Matte Nails
Here's what you'll need: A matte top coat (I used the new Julep matte top coat), a white base color, glitter, and maybe a small brush.
First, prep for your manicure, to make it last longer. Remove your old polish, if any, and soak your hands in warm water for a few minutes. Trim your nails and push back your cuticles but don't cut them. Do not use lotions or oils on your hands before you start, it may make the dry time longer.
Paint your nails with one or two coats of your base color.
While the polish is still a little wet lightly dip your nail in the glitter.
Make sure to cover your whole nail in the glitter.
Tap the tip of your nail on the lid and whip off extra and loose glitter so you don't waste any.
If you missed any spots you can add some of the glitter on with your brush too.
Add a your matte top coat and you are done!
I applied 2 heavy coats to help cover the texture of the glitter.
For a more winter look try blue glitter. 

Check out my current giveaway, ends 11/20!


Friday, November 9, 2012

Cherry Blossom Nails

I have recently turned my guest bedroom into a home office and while setting up my new office I decided since this is my own space I can go crazy with pink, shared space with the fiance did not let me do that. While I was changing a few things pink I went ahead and did my nails pink too.
Cherry blossoms :)

 Here is how to get this look. 

Here's what you'll need: A top coat (I use Rimmel Top Coat), a base color, feature colors for branch color and flower color, a dotting tool/tooth pick/small brush, and crystals or mini stainless steel balls. You can use your base color and add white to it like I did.
First, prep for your manicure, to make it last longer. Remove your old polish, if any, and soak your hands in warm water for a few minutes. Trim your nails and push back your cuticles but don't cut them. Do not use lotions or oils on your hands before you start, it may make the dry time longer.
  First apply a coat or two of your base color.
 Wait until your nails are dry to add the branches. If you do not have a brown that you are happy with you can mix colors like I did.
 With your dotting tool, toothpick or small brush add a few branches.
 I mixed the base pink and white together for my flower petal color. 
I wanted something just a little lighter for the flowers.
 With your dotting tool or tooth pick again add 3-4 petals(dots) per flower. 
I added 2-4 flowers on each nail.
 I used these mini stainless steel balls for the center of the flowers. 
You can skip this or crystals also.
 I placed a silver one in the center of each flower.
 Add your top coat and you're done.

Thanks for stopping by, I'd love to see if you give it a try!

Check out my current giveaway!