Showing posts sorted by relevance for query nails. Sort by date Show all posts

Friday, June 7, 2013

Easy Patriotic Nails!

The 4th of July is just around the corner so I am starting in on the fun with my nails!
The goodies you will need.
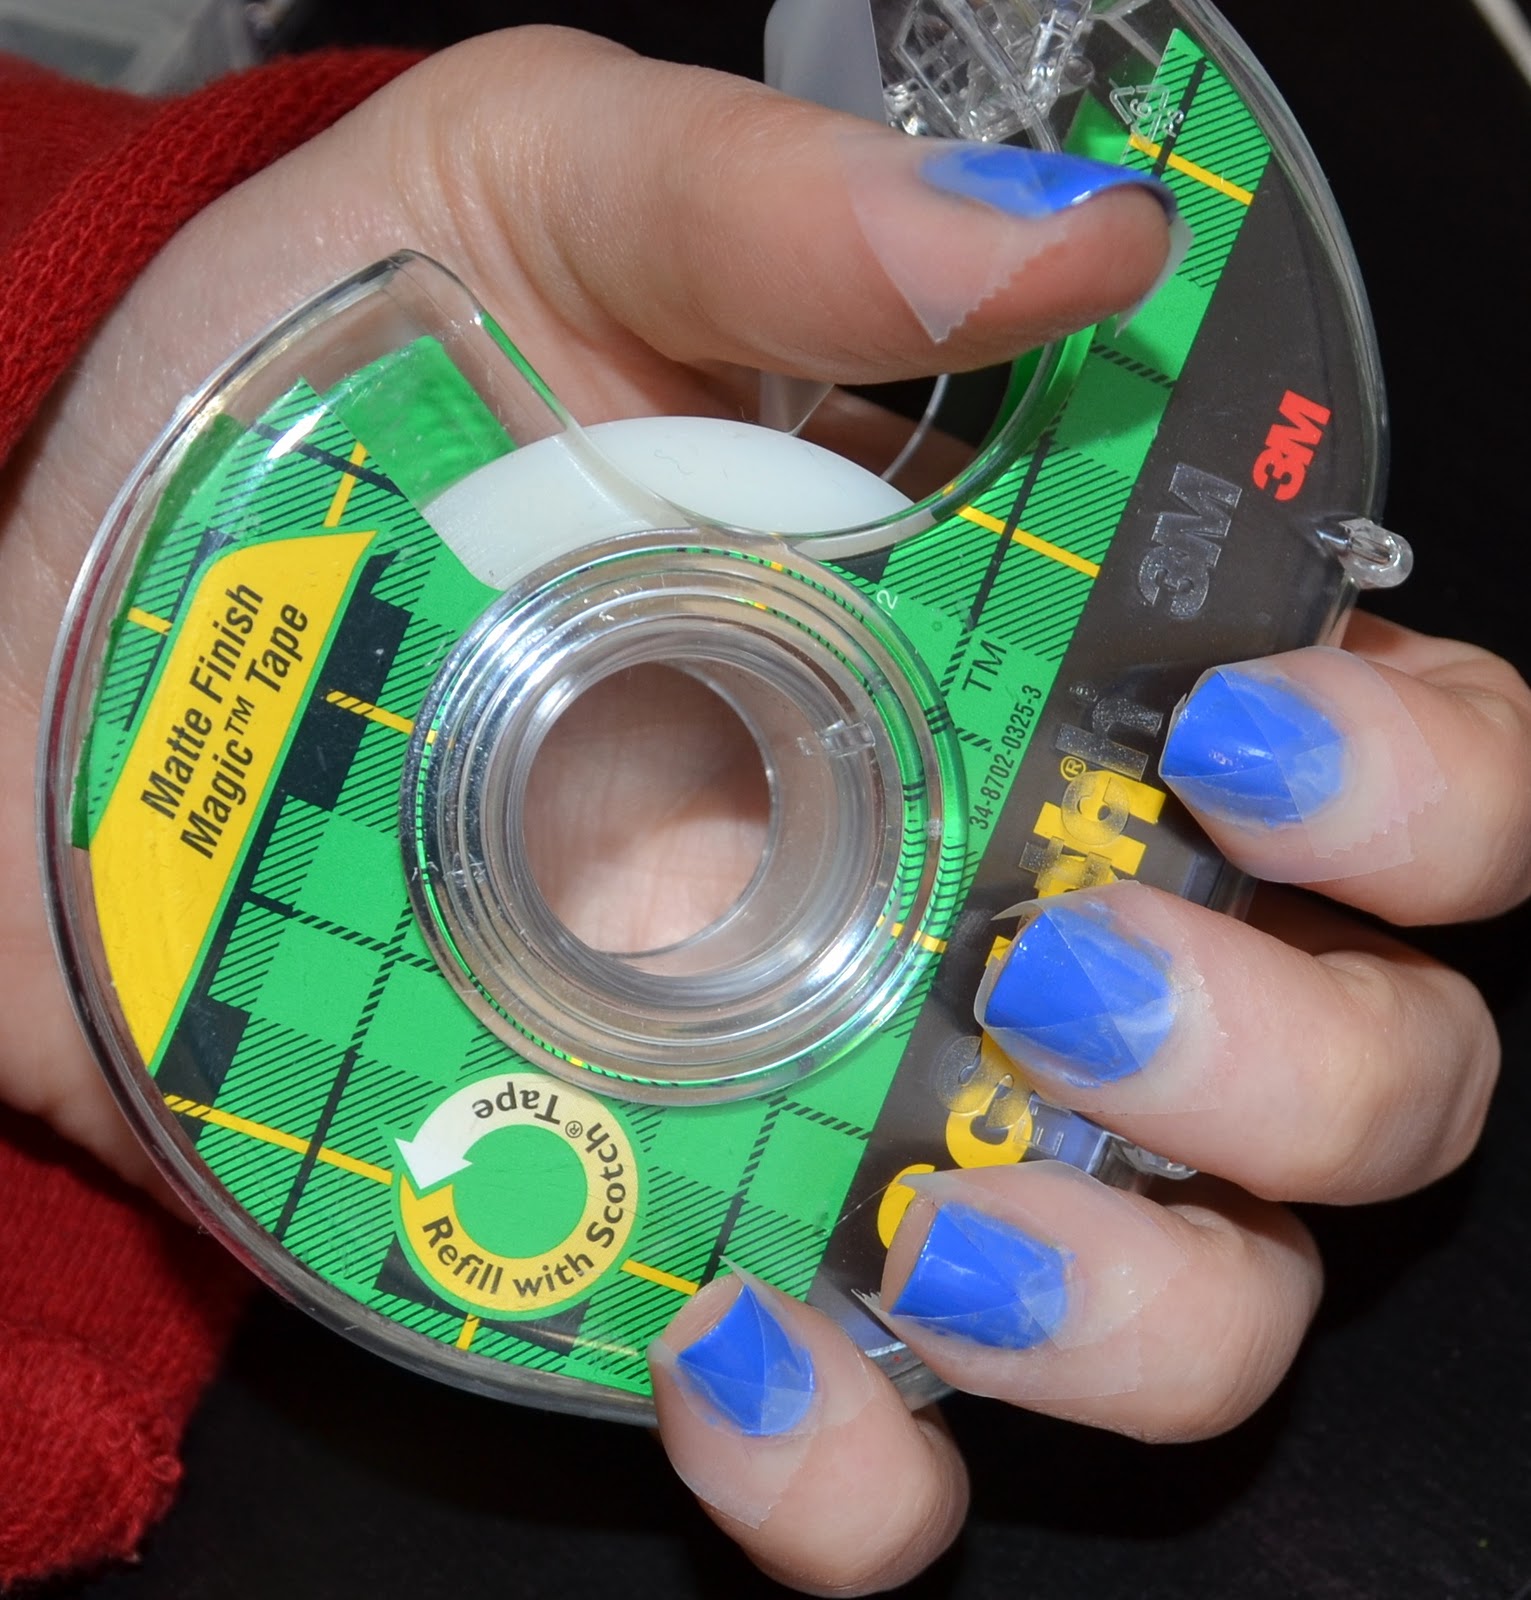
Nail art tape.
Polish- Red (Jackie) White (Bunny) Blue (Ally) Glitter (America)
Star glitter (Used stars from America by Julep)
Top coat (Freedom)
Dotting tool
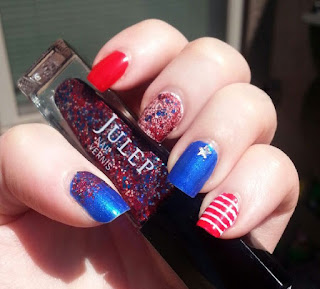
 Apply Jackie (red) to your index finger, Bunny (white) to middle and pinky fingers, Ally (blue) to thumb and ring fingers.
Apply a light coat of America (glitter polish) to your thumb starting at your base and ending in the middle, apply the same glitter over the white on your middle finger.
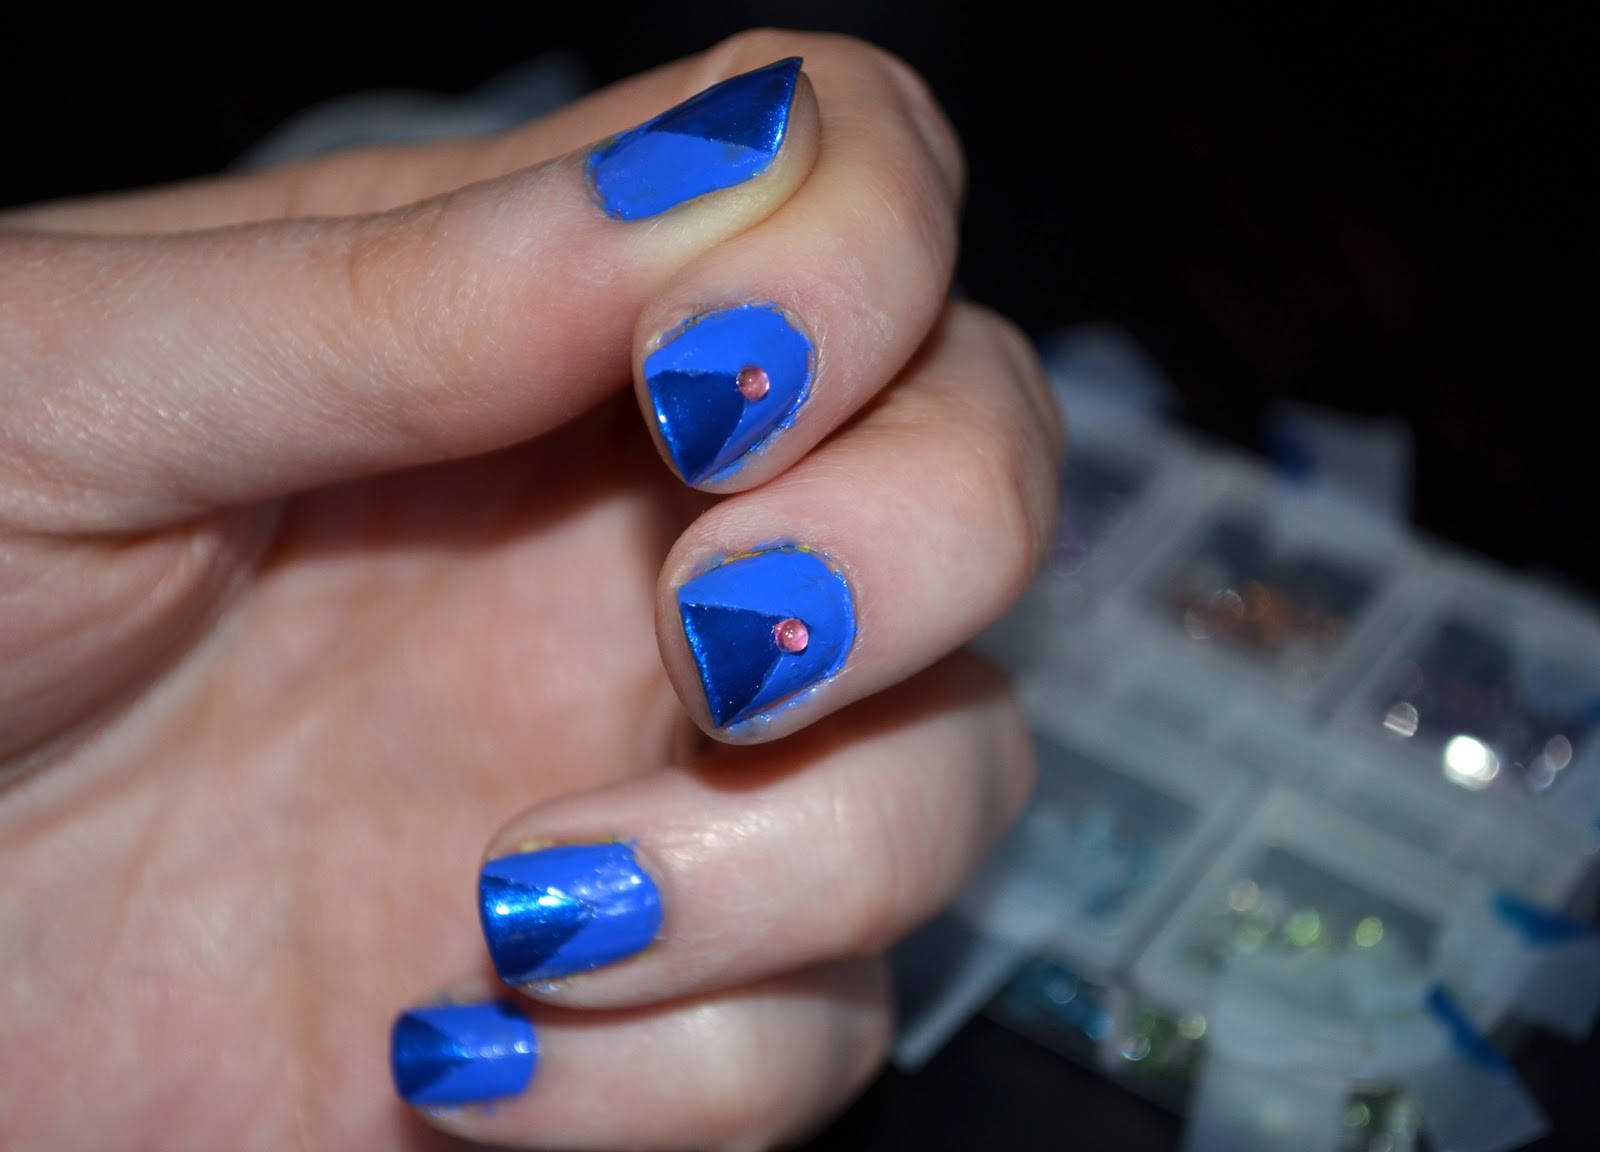
Apply a single star to the base of your ring finger, I fished out stars from America.
For the pinky nail
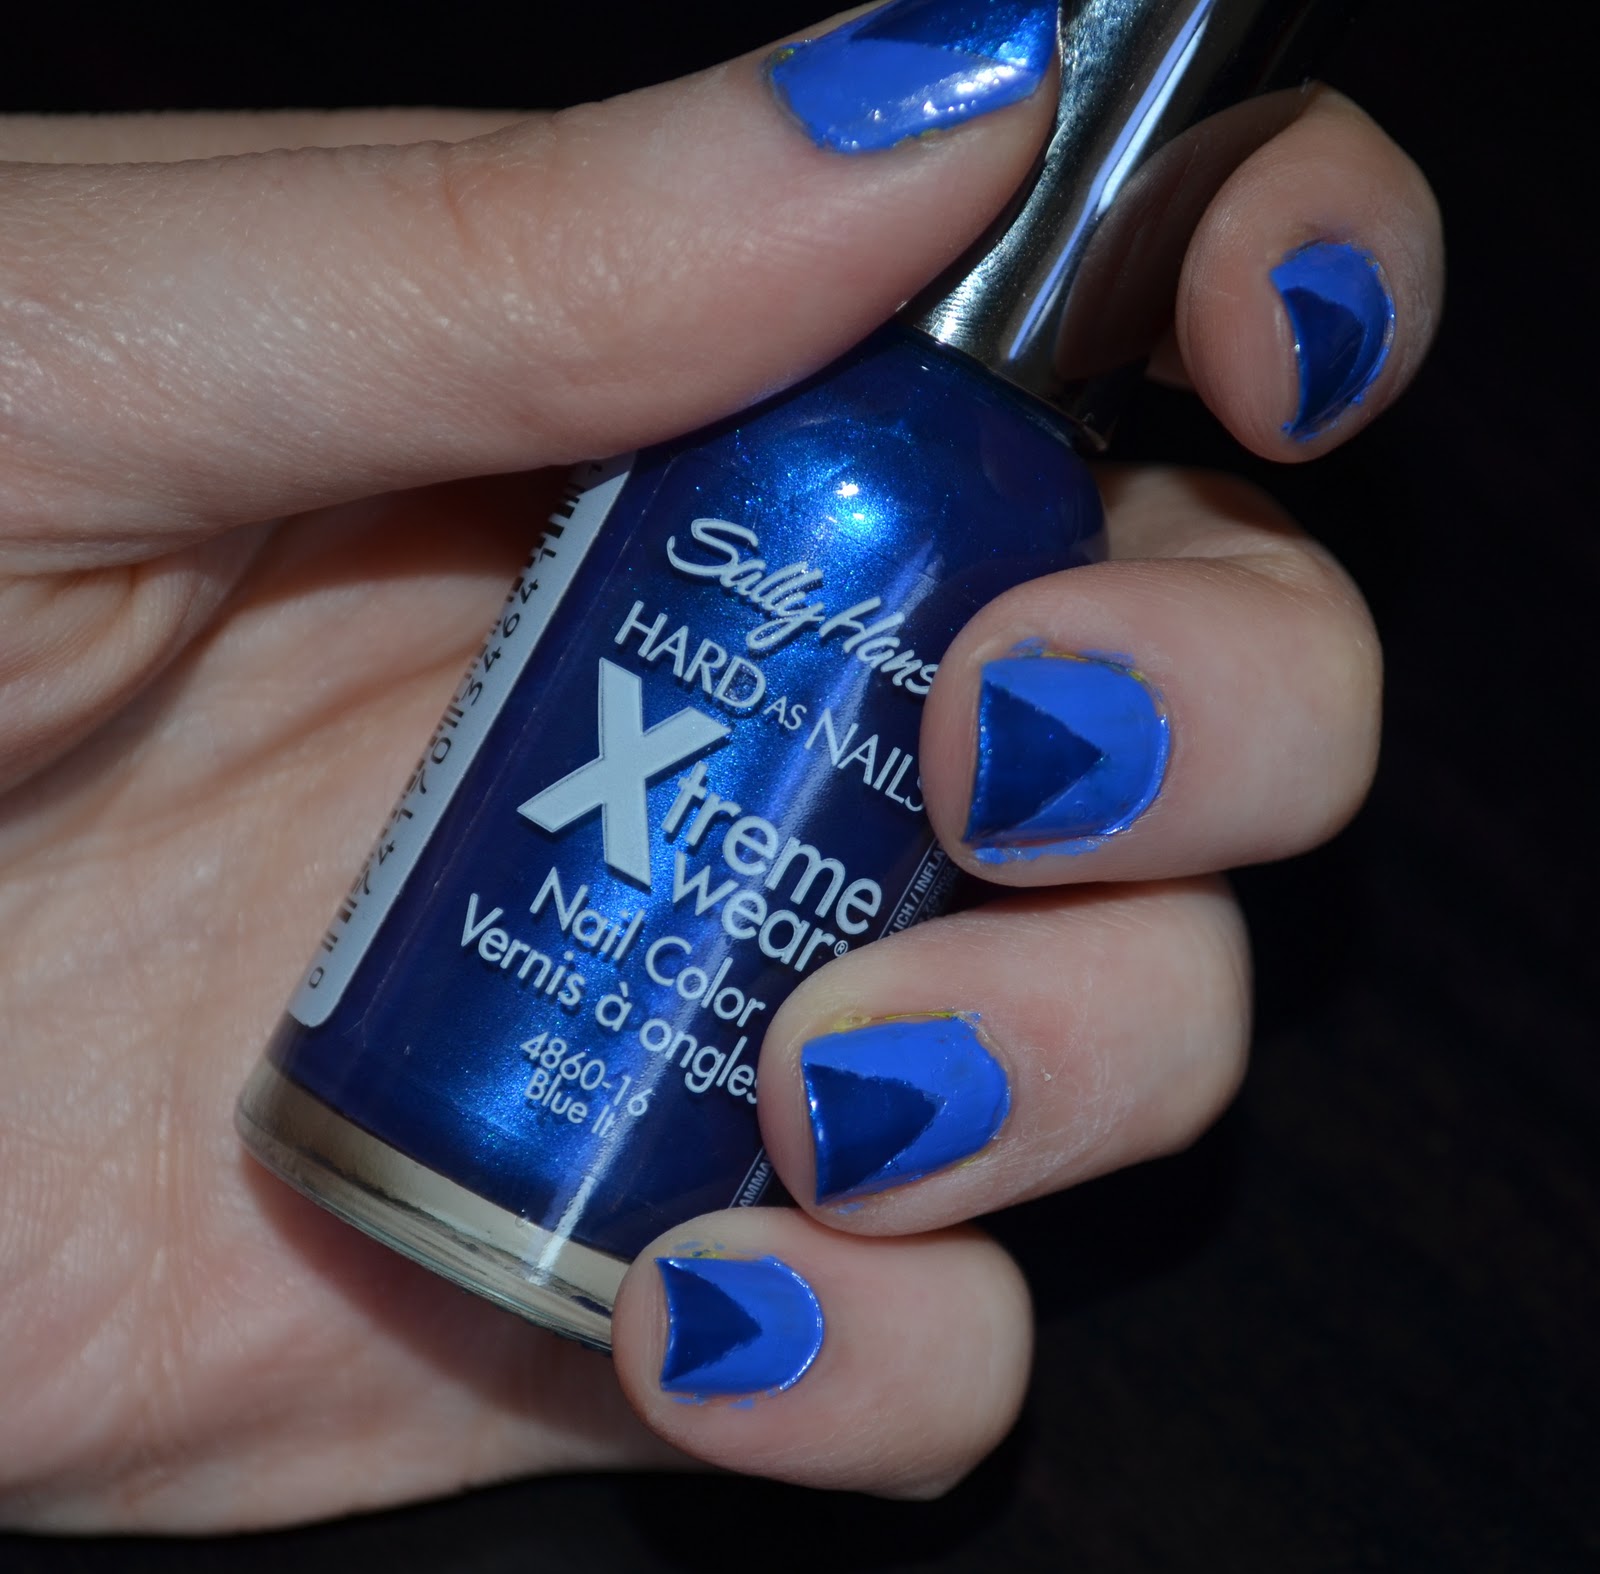
 Stripe your nails with your tape, you may need more or less stripes than me depending on the size of your nail.

Apply Jackie (red) to your nail over the tape and let dry for a minute or two. Take the tape off and you have red and white stripes!
Apply your top coat and you are done!
Enjoy!

Check out my other 4th of July inspired nails!
Like it? pin it!
If you’re not a Maven, sign up here, take the style quiz, and use the code FREEBOX to get your intro box for free (plus $3.99 shipping)!  You have until the 19th or so to be able to order the next coming box. There’s nothing to lose! If you don’t like what’s in the box, you also have until the 24th to skip if you don't want the box, and you won’t be charged a thing!
Also, follow me on bloglovin' to know when there are updates.
Follow on Bloglovin

Thursday, January 5, 2012

How To Paint Your Nails With A Pastel Leopard Print

I have recently gone a little crazy with buying polish and playing dress up with my nails.In the past three weeks I think I have bought about 20 new colors and goodies for my nails. I couldn't decide what color I wanted to I did a leopard so I can use a few :)

All that I used.
I love the pastel colors I found!


Here's what you'll need: A top coat (I use Sally Hansen Dries Instantly, dries in about 30 second), feature colors for your spots, a base color, a dark color for outlining your spots (a nail art pen or a nail art polish helps), and a base coat of your choice (I use Sally Hansen Mint Sorbet). Go wild with picking out colors: for a traditional leopard print, try a beige base, a tawny golden feature color, and a dark brown or black outline. Or else go tone-on-tone, with lime green, medium green, and black — or lavender, purple, and black. Or light blue, royal blue, and black. Whatever.

First, prep for your manicure, to make it last longer. Remove your old polish, if any, and soak your hands in warm water for a few minutes. Trim your nails and push back your cuticles.

Base coat, I applied 2 coats.  Sally Hansen Mint Sorbet.

Nail Art Polish for the outline of the spots. SinfulColors Black. 
 I found "SinfulColors Nail Art" polish at Rite Aid and it was only .99. It's nice for the price and thin brush but it is too thick for doing very detail things, the leopard prints are fine because they don't have to be prefect.
Yay, fine tip!
Make unfinished circles or "c" shaped marks on you nail, what ever design you like best for you print.
Cover the nail with the marks till you're happy with the amount of spots.

Start filling in the spots in blob of polish with the colors you picked out.
Sally Hansen Mellow Yellow.
Try to keep the blobs roughly the same size but do whatever you think looks best.
Sally Hansen Bubblegum Pink.
Try to stay in the lines with the colors, you want to make sure you can still see the black.
Sally Hansen Lacey Lilac
Fill in the spots that are left, try not to put the same color of spots next to each other.
Wet n Wild French White Creme.


 I don't really like this white as a base coat but it worked really well for just spots.
Add a glitter coat if you'd like, this glitter is great if you don't want too much glitter to
show but still want sparkles. SinfulColors Pearl Harbor.
 I found this glitter at Rite Aid also, it was $1.99. I love this Glitter!
Finish with a top coat. Wait about 30 minutes before add a coat so it
doesn't make any of the colors run.
You can't see the glitter but it's all done! You can clean up the extra polish on the skin
with remover and a Q-Tip or just rub it off in the shower like I do.
My left hand is useless! I made a big mess when I did my right hand.

And as you can see it is not as neat as when I use my right hand. Oh well! 

Pretty :)

Wednesday, October 31, 2012

Fake lashes on your nails!

Since I was about 17 everywhere around Halloween I hit any and all store that have fake lashes and buy all the fun cheap lashes. About two years ago while still buying I stopped going to shows and events as much so I have stopped using the lashes I buy. I have maybe 60 pairs under my sink in a small box just not being used so I though I'd give a try adding them to my nails.
This is how they came out, I think they look pretty cool but took a little longer then I thought they would.
Here's what you'll need: A top coat (I use Rimmel Top Coat), a base color , small nail scissors & lashes.
First, prep for your manicure, to make it last longer. Remove your old polish, if any, and soak your hands in warm water for a few minutes. Trim your nails and push back your cuticles but don't cut them. Do not use lotions or oils on your hands before you start, it may make the dry time longer.
Paint you base color, I am using Julep's Sophie. Its currently my favorite color.
Your cheap lashes, I ended up only using one.
Cut it in to ten pieces.
It can be tricky but apply a light coat of your top coat. I wouldn't recommend using your base color, the color may get on the lashes and hide them. 
While nail is still wet use you scissors to cut off the extra, try to cut as close to you nail bed as possible. Apply a few coats of your top coat and your done!
 After doing my left hand it was so much easier.  I was using just a small pair of craft scissor from my desk but after my left hand was done I grabbed our nail scissors and it was so much better!
Let me know if you give it a try!

Check out my November Giveaway!

Tuesday, October 30, 2012

Halloween Inspired Eyes in the Bushes Nails

I've seen a few eye nail art for Halloween so I wanted to do my own. When I think of eyes on Halloween watching you I think of creepy crawlies in the bushes so this is what I cam up with.

Here's what you'll need: A top coat (I use Rimmel Top Coat), a base color (I went with black and a transparent brown), feature colors for your eyes, bush and stars, a sponge or q-tip, & a toothpick/small paint brush/nail art polish.
First, prep for your manicure, to make it last longer. Remove your old polish, if any, and soak your hands in warm water for a few minutes. Trim your nails and push back your cuticles but don't cut them. Do not use lotions or oils on your hands before you start, it may make the dry time longer.
 Creepy eyes watching you from the bushes!
 Start by painting your nails black, I added a transparent brown polish over the black for mine.
 Using a q-tip or sponge cover about 2/3 of your nail with your bush polish, I didn't have a good green color so I mixed two greens.
 With a dotting tool, nail art brush or a tooth pick add a few eyes.
 With a smaller dotting tool or other add the pupil of the eyes.
 If you's like add some glittery stars to your night sky.
 I mixed some green and the brown I used on the black to add some "texture" to the bushes. it looks better in person than it does in the picture!
 Apply your top coat and you are done!

Happy Halloween!

Check out my November Giveaway!

Thursday, January 26, 2012

Triangle & Crystal Nail Tutorial.


Here's what you'll need: A top coat (I use Sally Hansen Dries Instantly, dries in about 30 second), feature colors for your triangle, a base color, crystals, tape, & a head pin/toothpick. Go wild with picking out colors, I went with blue and pink because blue is my boyfriend's favorite color and pink is mine.

First, prep for your manicure, to make it last longer. Remove your old polish, if any, and soak your hands in warm water for a few minutes. Trim your nails and push back your cuticles. Do not use lotions or oils on your hands, it may make the dry time longer.

Before you start made ten 1" pieces of tape and but them in half making 20 pieces.  You can do that after you put your base cost on but its nice to have everything ready before you start.

All I used, I skipped the glitter polish on this one though.
 I was going to add glitter but decided it looked find without.
Pacific Blue by Sally Hansen.
 Apply the base, I applied 2 coats. You may want to do more depending 
on the color and brand of polish you use.
Let the base dry completely before putting on the tape.
 Once the polish is dry place one strip of tape crossways, make sure to press down firm.
Apply a second strip of tape across the opposite way.
This is what it will look like after.
You can also flip the tap and have the triangles at the base of your nails.
Apply one or two coats over the tips of your nails.

Peel off the tape and let it dry. Sally Hanson Blue It.
I used my top coat as glue. I put poured some on a piece of tape.
 You can use nail glue or super glue and put it right on the nail. I like using my top coat, looks cleaner at the end. For the crystal you can get them at a beauty supply store or order them online. You might be able to find some kind of flat crystal at a crafts store.
I used a head pin to pick up and place the crystal.
 Use you pin or toothpick pick up the crystal. Dip the end in the top coat or glue then pick up the crystal while it is still wet, dip the crystal in the top coat or glue then place it on the nail. I placed mine at the point of the triangle but you can place it where ever you'd like. Try to do this step quickly so the crystal doesn't dry on the end of the pin or toothpick.
While they are still wet you can move them if needed.
Again, try to be fast so that it doesn't where you don't want it to.
Side view :)
Haha, you can see where the tape was!
Put on your top coat.
 And that is it, all done!
You can clean up around the nail if you got any polish on your skin with nail polish remover or wipe it off in the shower like I do. Warm water is great for getting polish off the skin :)
Sorry most of my pictures were so dark.
Thank you for stopping by & let me know if you give it a try.