Showing posts sorted by relevance for query giveaway. Sort by date Show all posts

Wednesday, January 13, 2010

Become a fan on Facebook for discounts and a monthly giveaway!


Become a fan for weekly promo codes for free and discounted goodies!

Click on the picture to go to my facebook page!

Thursday, October 18, 2012

Make your own Halloween inspired wreath for under $10!

I have seen a few really cute Halloween wreath posted here and there and decided I wanted to make my own. I must say this wreath did not turn out the way I wanted. It looks fine and I am happy to have something on my door but this is not how I wanted to do it. For the first time ever my fiance Rob decided that he wanted to "help" me make something. I thought it was so sweet that I could not say no.

The few I've seen.

What you will need. 
a wreath
a few spooky plastic toys 
a glue gun
& spray paint if you are not happy with the color of the toy

Paint your toys whatever color you want. I spray painted my bats 2 nights before.
I got the glow in the dark bats at Target, it was $1 for each pack I grabbed 3 packs. I used two packs of bats on the wreath.
Rob wanted me to leave the bats as is, I did a light spray so they still glow but I got my black bats.
 This is the wreath I found at Micheals for $4, I thought it was a nice size. 
I wanted to paint it black but Rob thought it would be spookier if we left it as is... I still want to paint it black.
 Glue your toys on and that's it, you are done! 
I was going to add some small black flowers around it but Rob also though that would be lame.
 That is Smee, I have had that skull since I was in high school. I know Smee didn't have an eye patch but I did named him after Smee from Hook!
 Done and done, hang that bad boy up!
 This is Rob eating his egg sandwich while "helping" me. I don't know why he has a fork for a sandwich.
 I asked him if it looked good and this is him saying yes.
Then he got very excited because both of our cats jumped in the basket and told me to take a picture.
That is Athena and Artemis, the cutest little sister kitties ever!
Watch Artemis playing fetch!

Halloween inspired spiderweb nails!

Hope you enjoyed, 
Happy Halloween!

Check out my giveaway!

Thursday, February 7, 2013

My first glam bag from Ipsy!

I decided to join buy myself an Ipsy bag last month for my birthday, I saw a friend post what she got in December and wanted it all! 
 This is what came in the January bag!
 
Nailtini Frappe Polish- I am not a fan of nudes but I love this color, it fits my skin tone perfectly. It is a little sheer though so I have to use 4 coats, it actually isn't that much polish with 4 coats on it though because it is pretty thin. Maybe its because there is vodka in it. I did get another bottle of this already.
Josie Maran 100% Pure Argan Oil- I've used it on my scale a few times before bed since I have dandruff and it is doing a nice job, I don't know if I'd buy more but I like it so far.
Pacifica Tuscan Blood Orange Mini Body Butter- I love this and I will be buying more when it is gone, it is such a lovely smell and every time I wear my guy comments on how nice I smell :)
Sexy Hair Spray & Play Volumizing Hairspray- I don't use too much product in my hair, I had curly hair when I was a kid so when I curl it it keeps well even in moist weather. I am saving it for when I want big hair.
&
SOHO Concealer Brush (Crease brush & eyeliner brush where in the other bags.)- I have yet to use this also just because when I was on vacation last month I left my makeup at my my future mother in law's and had to get a few so I just bought one. I am saving this for a raining day though.
I originally signed up for it just for a birthday gift and was not planning on doing it after but I loved what I got and loved what I saw others getting before I joined so I am staying. The fact that is is only $10 really made the decision for though, I figured if there isn't anything I like in the bag I have little gifts to giveaway to family, friends and maybe even a random lady that need hair spray. 
The price for this month has gone up though or not so much price but California and a few other places are making them charge tax so February's bag was 80 cents more, still not bad for what you are getting.

 Another great thing about Ipsy is they what to see you use and love what you get! 
You get a profile on their site that you can add your "looks" to and if you are a youtuber you can add your tutorials and reviews right to your looks.
They also have monthly challenges, all of these goodies where up for grab if you had the right looks.
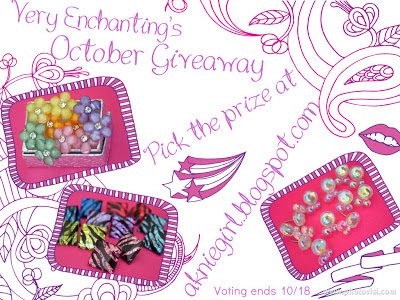
UPDATED- MY PRIZE IS HERE!- UPDATED

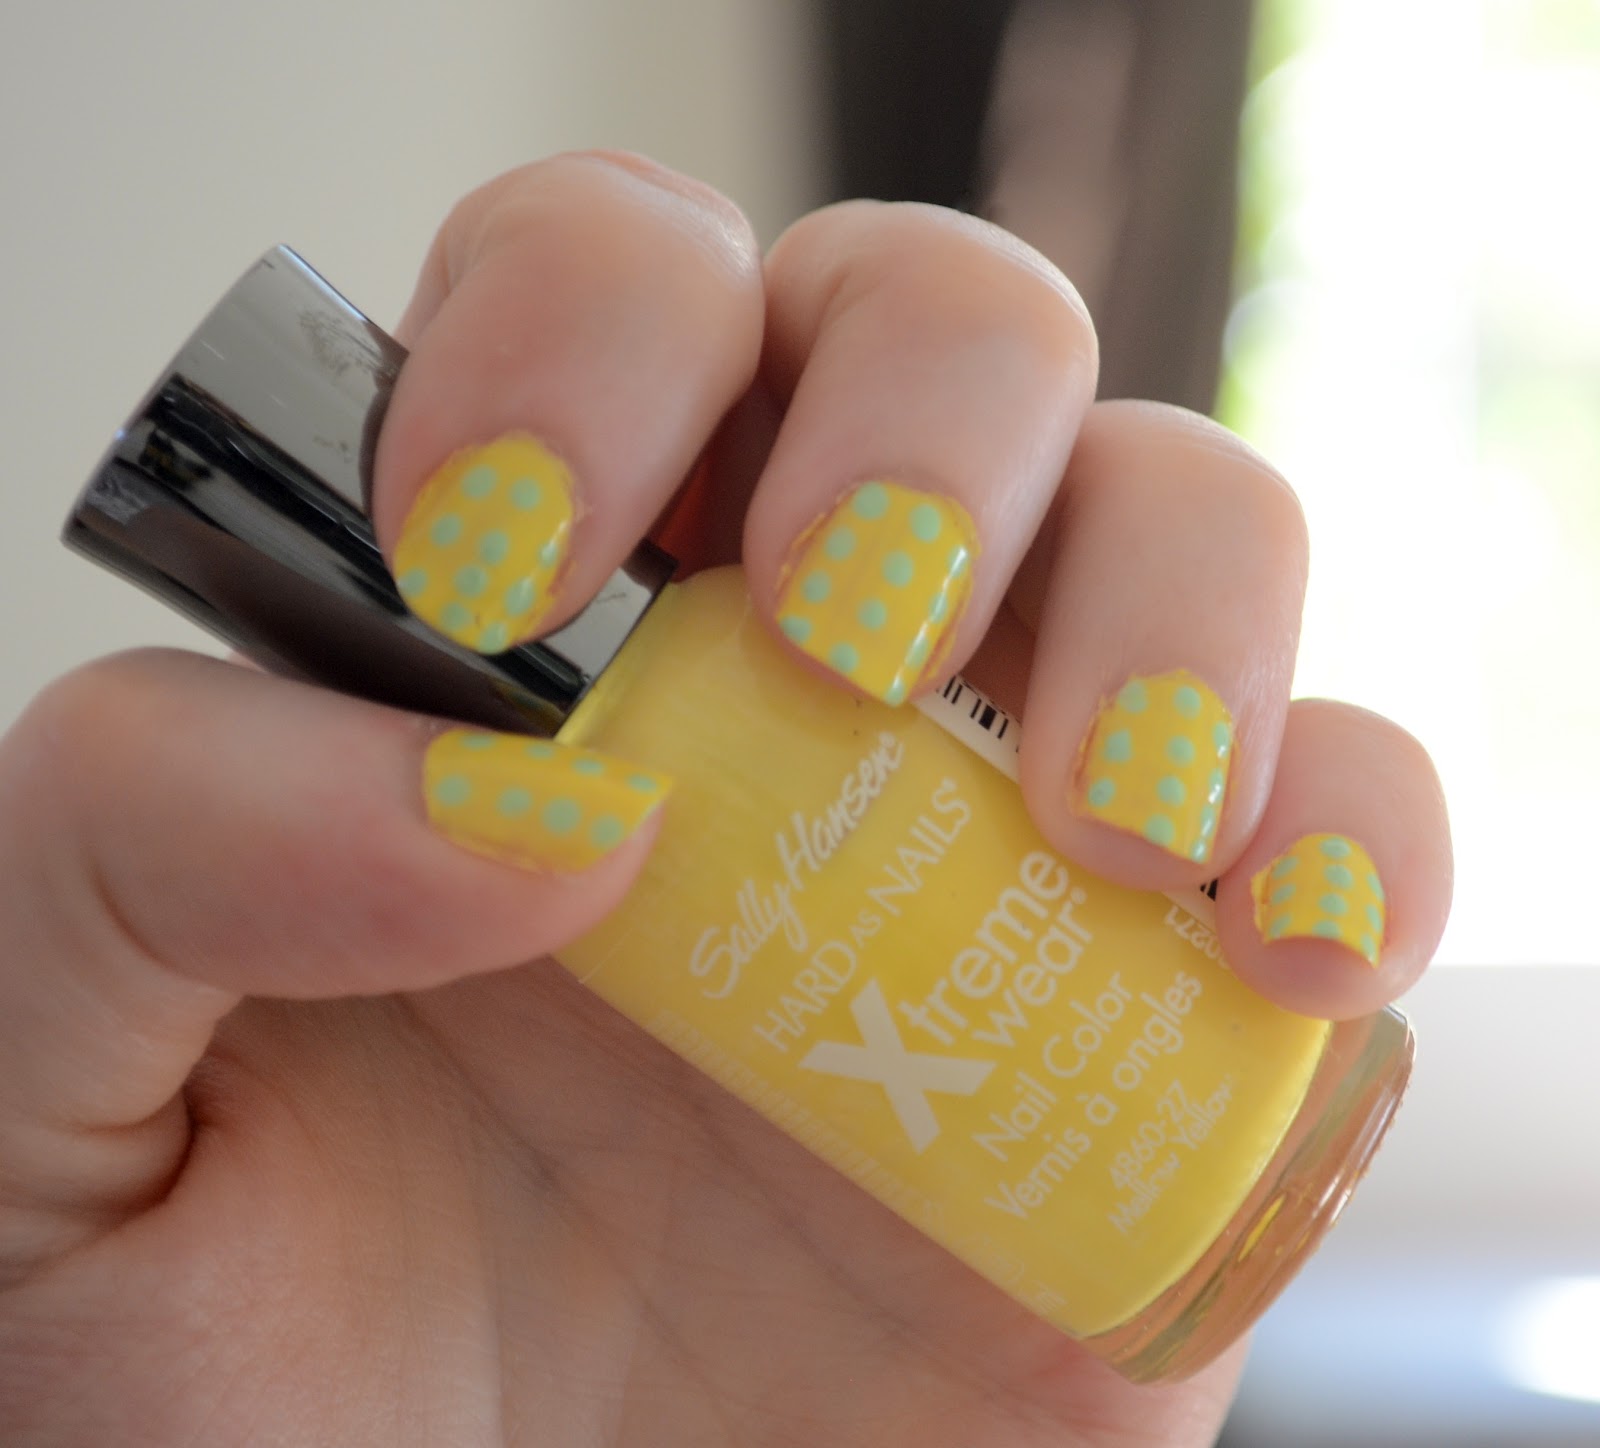
 I joined the Nailtini challenge with this picture and won,
first bag, first challenge and I an a winner!
I guess I will be getting the Nailtini 5 piece set from the picture. I am super excited about it and was so jazzed to see the "loves" my look was getting. I think my fiance was tired of hearing about it though but he was happy for when I won. 
My only beef with the site and challenges is people can post any look they want and find online, it does not have to be done by you or even with the brand the challenge is for. I just think it takes away some fun of seeing what other can and are doing.
Anyway, The February boxes are almost ready and will be shipping out soon if they have not started already!
I can't wait for this coming month's bag, everything looks so neat!
 
 FEBRUARY GLAM BAG SNEAK PEEK #1: Custom palettes will have you gorgeous and glowing.  

FEBRUARY GLAM BAG SNEAK PEEK #2: A silky and smooth start to your perfect Look. http://mygl.am/OfficialFebruaryGlamBagSneakPeek2

FEBRUARY GLAM BAG SNEAK PEEK #3: Go from glam to ultra glam with this red carpet-ready liner. http://mygl.am/OfficialFebruaryGlamBagSneakPeek3
FEBRUARY GLAM BAG SNEAK PEEK #4: Pump, plump, pop for lash perfection. http://mygl.am/OfficialFebruaryGlanBagSneakPeek4
 FEBRUARY GLAM BAG SNEAK PEEK #5: Fight the fall out with this helpful tool. http://mygl.am/OfficialFebruaryGlamBagSneakPeek5

I thought they would be doing eyelash goodies since a few of there latest post were lash related.
Including this, which are your favorites?

Join me on ipsy and subscribe to the Glam Bag! 
You get 4-5 beauty products every month delivered to your door, for just $10. Michelle Phan curates the bags! 
It is a cute bag, I highly recommend it. 


Thanks for stopping by!


Thursday, May 9, 2013

Fit. Clear. Tan. Ellie Giveaway!

Enter now for your chance to win these goodies! 
I just found Cut and Blow, the destination that delivers everything Hair and Beauty - at private sale prices. Members discover new offerings daily - each available only for a short time. 


Thursday, May 17, 2012

New Earrings from Very Enchanting Jewelry.

My boyfriend is let for New York today and will be gone for just over a week. I got a few goodies to make pretties and keep myself busy while he wasn't home but while he was packing I made them a few of them yesterday... I started with the bubble earrings but just went crazy and made to all the earrings I was going to make over the week!

I have a few bracelets and necklace in mind to keep me busy though. I'm also going to rearrange my bedroom and clean up my office... not looking forward to that at all.

These earrings are very very easy to make but can be harder depending on how much handmade you want them. If you want to make your flat back beads like I do with some of mine you'll need to make a mold (I do silicon) or buy a mold you like. You'll need to get resin and follow whatever steps you have for making the beads, this can take up to 48 hrs for the resin to be ready. You can also just buy some flat back beads from a craft stores or sites. You will be your flat back beads, earring post, earrings backs and jeweler's glue.
 Place a little glue on the back of the bead and then place you post on the glue. Hold the post in place for a moment then set it aside to dry for however long the glue says, I always leave them alone for about 24 hours even if the glue says 10 minutes. After they are all dry they are ready to wear so add on the earrings backs and you are good to go!
Bubbles! These guys are what started it. I wanted to see how they would turn out then just kept making them. They turned out way better then what I though. The posts I used make the color pop more, I was scared that the would be very visible and take away from the bubbles. 
These ones are definitely my favorite of these little button earrings. 
Foiled acrylic neon diamond zebra print stud earrings.
I love the green ones so I made a pair for myself :)
Colorful flowers, I make these before and gave them out as gifts during Christmas to a few kids I know and sent an orange pair to my aunt. She loved them!
A bouquet of earrings!
Dino Earrings, these little buddies were once buttons and now are too cute and ready to be worn by and dinosaur lover!
T-Rex yeah! I'm on the look out for some raptors to go with these guys because raptors are the best!

Thanks for stopping by, feel free to shop by my etsy shop to see more of my goodies and more pictures of what I have posted here!


& check out my blog giveaway going on now!

Saturday, September 15, 2012

Dotting Your Nails With a Nail Art Tool Tutorial.

Dotting your nails tutorial.
Here's what you'll need: A top coat (I use Rimmel Base and Top Coat), base color, color for you dots, & a dotting tool. You can use a toothpick, the very tip of your polish brush if its round or a pen if you don't have a dotting tool. 

First, prep for your manicure, to make it last longer. Remove your old polish, if any, and soak your hands in warm water for a few minutes. Trim your nails and push back your cuticles but don't cut them. Do not use lotions or oils on your hands before you start, it may make the dry time longer.
Start by applying a coat or two of the base color, I used 2 coats of the yellow I use.
Drip some of your dot color on a paper towel or something you don't mind having getting polish on, I used a piece of tape. I am using the largest dotting tool I have, if I was doing darker colors I would have done smaller.
Start at the center and made a few dots, finish off the sides in whatever pattern you'd like. I went with just lines of dots.
Apply a coat or two of your top coat.
And you're done!

Become a fan on facebook and follow me on bloglovin to be entered to win one of these pretty rings for September's giveaway!

Thanks for looking!


Wednesday, October 31, 2012

Treats for Halloween!

Found a few treats for  Halloween I thought I'd share.

This looks so good and it is so easy to make! 
&
These guys are pretty easy too.
 I made these a couple years ago and just used chocolate pudding, crushes Oreos and a sugar cookie tub. 

Happy Halloween!

Check out my November Giveaway!

Thursday, September 27, 2012

Halloween Inspired Spider Web Tip Nails

 I love this time of year & the holidays that come with! I have been dying to break out my Halloween goodies and start decorating my house. My fiance and I moved into a house last year with very tall ceilings and we were not prepared to decorate that high. Everything turned out cute but it wasn't awesome. This year I am going for awesome. Anyway, so I don't seem crazy I am waiting till next week to start setting stuff up but I still wanted to do something right now so I did my nails! 

Here's what you'll need: A top coat (I use Rimmel Top Coat), a base color (I went with black to make the white pop), a feature color for your web, tape, & a toothpick/small paint brush if your web color polish isn't nail art polish.
First, prep for your manicure, to make it last longer. Remove your old polish, if any, and soak your hands in warm water for a few minutes. Trim your nails and push back your cuticles but don't cut them. Do not use lotions or oils on your hands before you start, it may make the dry time longer.

 Using good ol' scotch tape cover the part of your nail where you don't want your base color to be.
 Apply one or two coats of your base.
 Remove your tape when it is completely dry.
 You will be making three lines like this.
 I used a small paint brush and dabbed white polish on some tape. Make a thin line along the bottom your your base color where the tape was, make one in the middle and along the side or top of your nail depending on where you started. You can make more lines if doing your whole nail but make sure you have an odd number of lines.
 Lines along the top and side.
 You can touch up your lines with your base color if you lines are as neat and you'd like.
 Inside the lines make bowed lines or "c" shaped lines.
 Apply a coat or two of your favorite top coat and you're done!
Webs!
 I am pretty happy with how it turned out. 
I think closer to Halloween I'll give it a try with purple.

Thanks for stopping by!

Check out my current giveaway ending tomorrow the 28th!
 Check out my current sale on my new site, only $9.09 for these earrings right now!
And set a text alert for this lovely silver bee ring valued at $195 starting at only $70 on tophatter!
Auction starts on Oct 2nd.