Showing posts sorted by date for query nails. Sort by relevance Show all posts

Friday, November 2, 2012

November Julep Maven Suede Polish Box.

My November Julep Maven box has come!
Matte suede polish!
 I thought it wasn't going to come till this weekend but when I opened my door this morning there was a little black box with my name on it.
The goodies! 
This box was a lot cuter then my intro box, came with extra goodies too.
 Brit, Minka, 3 Polish Remover Pads and Body Frosting.
 My intro box didn't have the pads, it was nice to just whip off my old polish right when I opened the box and start to play with the new colors. Sadly, my matte top coat add on to was just shipped so it didn't come in the box.
The body frosting is a very lovely treat and I think when this runs out I will be buying more & it may be a Christmas gift for a couple people. It smells like sherbet!
 The back of the it made me smile too:)
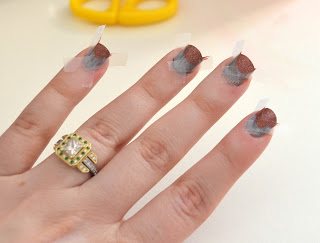
To do your nails like mine, apply a base color (I used Brit) after your base color dies make a X with tape on your nails leaving a triangle at the tip. Paint the triangle with your feature color (I used Minka) and apply your crystals then top coat.
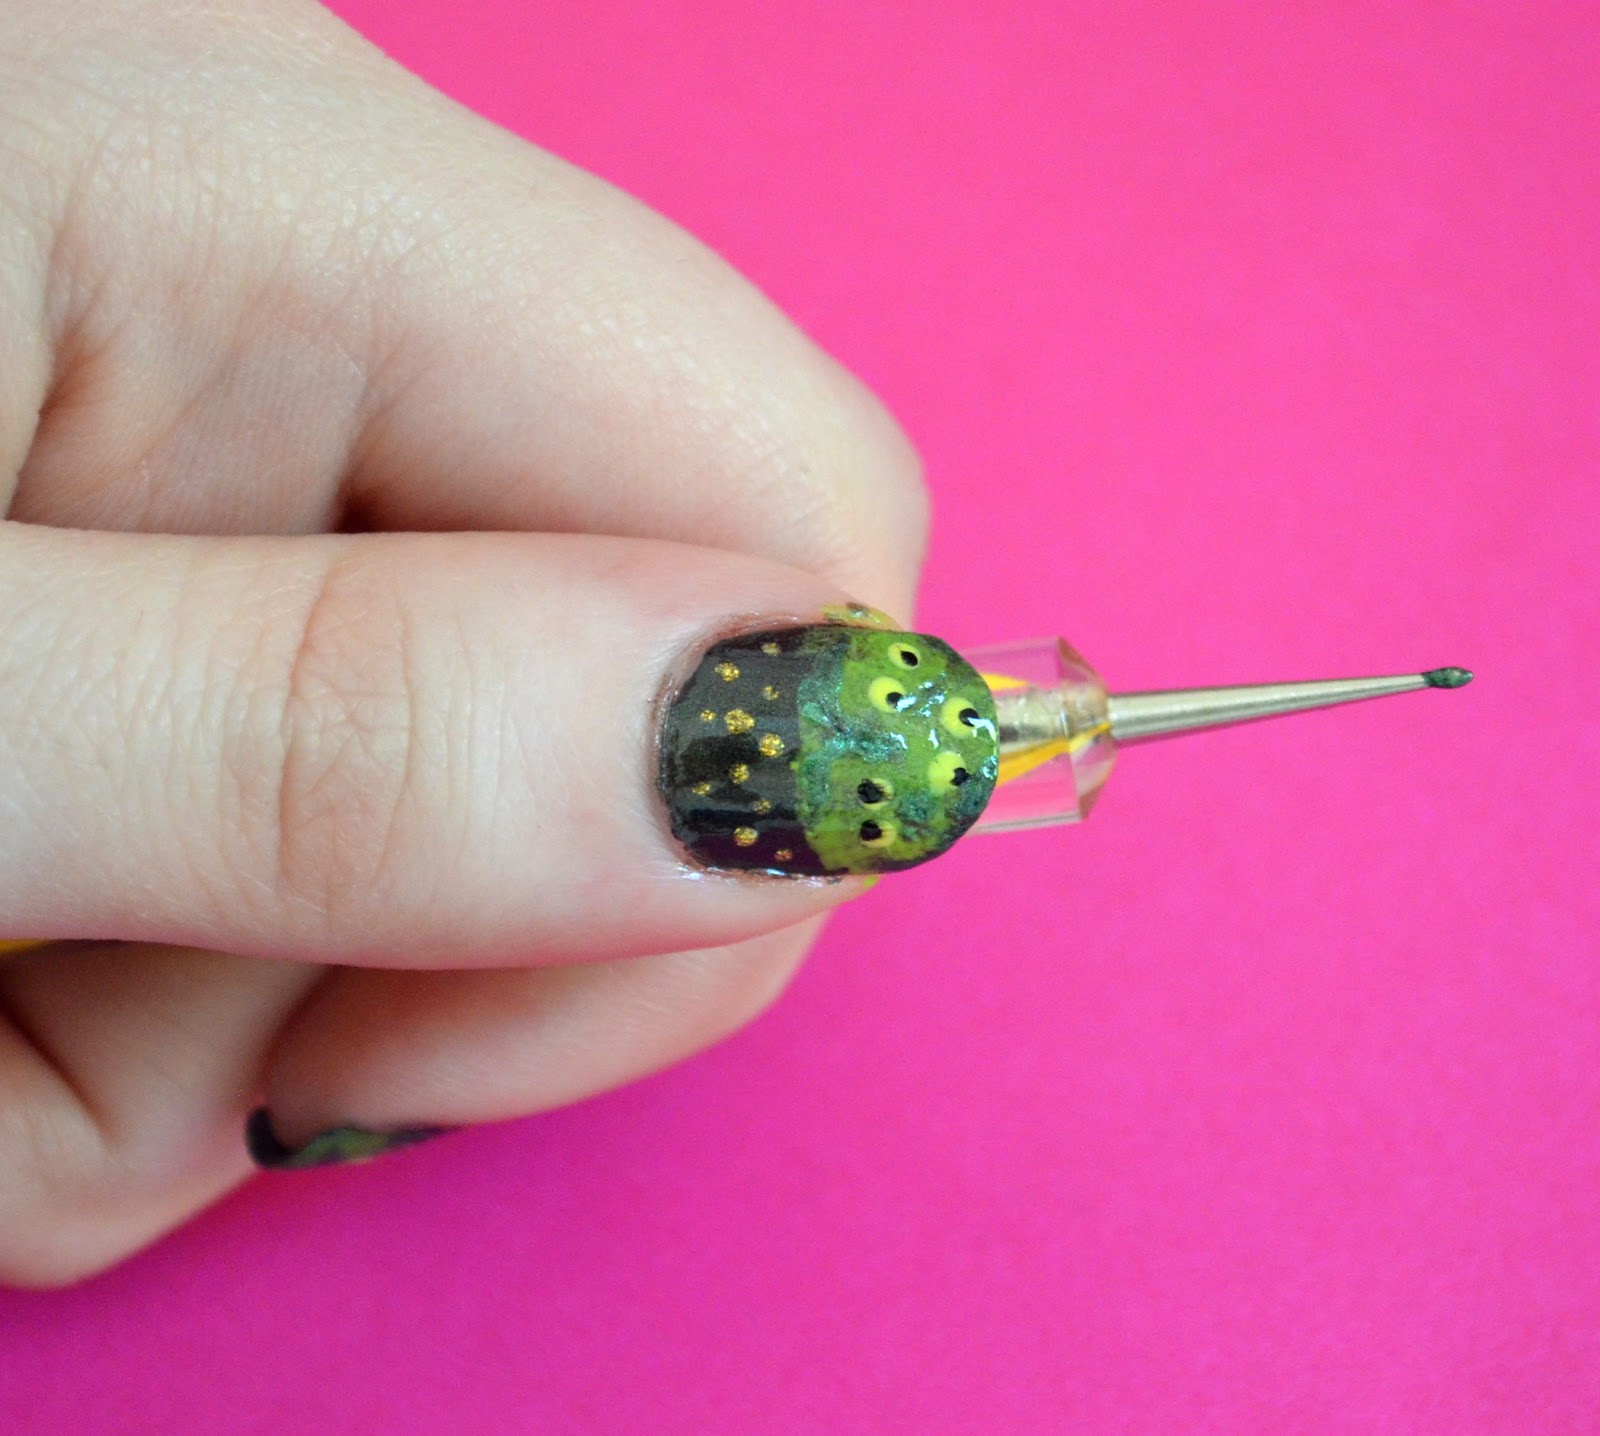
 To see a step by step tutorial and to see how I add the crystals check out my older post here.
The top picture is of the matte suede polish with no top coat and this picture is with a good ol' glossy top coat. I really like the Brit with the matte look and can't wait to get the top coat so it last longer but I do like the Minka better glossy.
So this was box 2 for me, so far pretty happy. I love the holidays so I am happy to see next month's box!

Become a Julep Maven too! 
Over $40 worth of the hottest trends.
 What's your style? 
Use the code "PENNY" to get the same discount I did on my first box.
Coupon code "SEASON20" is valid through Monday, December 31, 2012 and will get you 20% off and free shipping if you don't want to sign up for a box or the monthly boxes.

Check out my current giveaway!


Wednesday, October 31, 2012

Fake lashes on your nails!

Since I was about 17 everywhere around Halloween I hit any and all store that have fake lashes and buy all the fun cheap lashes. About two years ago while still buying I stopped going to shows and events as much so I have stopped using the lashes I buy. I have maybe 60 pairs under my sink in a small box just not being used so I though I'd give a try adding them to my nails.
This is how they came out, I think they look pretty cool but took a little longer then I thought they would.
Here's what you'll need: A top coat (I use Rimmel Top Coat), a base color , small nail scissors & lashes.
First, prep for your manicure, to make it last longer. Remove your old polish, if any, and soak your hands in warm water for a few minutes. Trim your nails and push back your cuticles but don't cut them. Do not use lotions or oils on your hands before you start, it may make the dry time longer.
Paint you base color, I am using Julep's Sophie. Its currently my favorite color.
Your cheap lashes, I ended up only using one.
Cut it in to ten pieces.
It can be tricky but apply a light coat of your top coat. I wouldn't recommend using your base color, the color may get on the lashes and hide them. 
While nail is still wet use you scissors to cut off the extra, try to cut as close to you nail bed as possible. Apply a few coats of your top coat and your done!
 After doing my left hand it was so much easier.  I was using just a small pair of craft scissor from my desk but after my left hand was done I grabbed our nail scissors and it was so much better!
Let me know if you give it a try!

Check out my November Giveaway!

Tuesday, October 30, 2012

Halloween Inspired Eyes in the Bushes Nails

I've seen a few eye nail art for Halloween so I wanted to do my own. When I think of eyes on Halloween watching you I think of creepy crawlies in the bushes so this is what I cam up with.

Here's what you'll need: A top coat (I use Rimmel Top Coat), a base color (I went with black and a transparent brown), feature colors for your eyes, bush and stars, a sponge or q-tip, & a toothpick/small paint brush/nail art polish.
First, prep for your manicure, to make it last longer. Remove your old polish, if any, and soak your hands in warm water for a few minutes. Trim your nails and push back your cuticles but don't cut them. Do not use lotions or oils on your hands before you start, it may make the dry time longer.
 Creepy eyes watching you from the bushes!
 Start by painting your nails black, I added a transparent brown polish over the black for mine.
 Using a q-tip or sponge cover about 2/3 of your nail with your bush polish, I didn't have a good green color so I mixed two greens.
 With a dotting tool, nail art brush or a tooth pick add a few eyes.
 With a smaller dotting tool or other add the pupil of the eyes.
 If you's like add some glittery stars to your night sky.
 I mixed some green and the brown I used on the black to add some "texture" to the bushes. it looks better in person than it does in the picture!
 Apply your top coat and you are done!

Happy Halloween!

Check out my November Giveaway!

Thursday, October 18, 2012

Make your own Halloween inspired wreath for under $10!

I have seen a few really cute Halloween wreath posted here and there and decided I wanted to make my own. I must say this wreath did not turn out the way I wanted. It looks fine and I am happy to have something on my door but this is not how I wanted to do it. For the first time ever my fiance Rob decided that he wanted to "help" me make something. I thought it was so sweet that I could not say no.

The few I've seen.

What you will need. 
a wreath
a few spooky plastic toys 
a glue gun
& spray paint if you are not happy with the color of the toy

Paint your toys whatever color you want. I spray painted my bats 2 nights before.
I got the glow in the dark bats at Target, it was $1 for each pack I grabbed 3 packs. I used two packs of bats on the wreath.
Rob wanted me to leave the bats as is, I did a light spray so they still glow but I got my black bats.
 This is the wreath I found at Micheals for $4, I thought it was a nice size. 
I wanted to paint it black but Rob thought it would be spookier if we left it as is... I still want to paint it black.
 Glue your toys on and that's it, you are done! 
I was going to add some small black flowers around it but Rob also though that would be lame.
 That is Smee, I have had that skull since I was in high school. I know Smee didn't have an eye patch but I did named him after Smee from Hook!
 Done and done, hang that bad boy up!
 This is Rob eating his egg sandwich while "helping" me. I don't know why he has a fork for a sandwich.
 I asked him if it looked good and this is him saying yes.
Then he got very excited because both of our cats jumped in the basket and told me to take a picture.
That is Athena and Artemis, the cutest little sister kitties ever!
Watch Artemis playing fetch!

Halloween inspired spiderweb nails!

Hope you enjoyed, 
Happy Halloween!

Check out my giveaway!

Thursday, September 27, 2012

Halloween Inspired Spider Web Tip Nails

 I love this time of year & the holidays that come with! I have been dying to break out my Halloween goodies and start decorating my house. My fiance and I moved into a house last year with very tall ceilings and we were not prepared to decorate that high. Everything turned out cute but it wasn't awesome. This year I am going for awesome. Anyway, so I don't seem crazy I am waiting till next week to start setting stuff up but I still wanted to do something right now so I did my nails! 

Here's what you'll need: A top coat (I use Rimmel Top Coat), a base color (I went with black to make the white pop), a feature color for your web, tape, & a toothpick/small paint brush if your web color polish isn't nail art polish.
First, prep for your manicure, to make it last longer. Remove your old polish, if any, and soak your hands in warm water for a few minutes. Trim your nails and push back your cuticles but don't cut them. Do not use lotions or oils on your hands before you start, it may make the dry time longer.

 Using good ol' scotch tape cover the part of your nail where you don't want your base color to be.
 Apply one or two coats of your base.
 Remove your tape when it is completely dry.
 You will be making three lines like this.
 I used a small paint brush and dabbed white polish on some tape. Make a thin line along the bottom your your base color where the tape was, make one in the middle and along the side or top of your nail depending on where you started. You can make more lines if doing your whole nail but make sure you have an odd number of lines.
 Lines along the top and side.
 You can touch up your lines with your base color if you lines are as neat and you'd like.
 Inside the lines make bowed lines or "c" shaped lines.
 Apply a coat or two of your favorite top coat and you're done!
Webs!
 I am pretty happy with how it turned out. 
I think closer to Halloween I'll give it a try with purple.

Thanks for stopping by!

Check out my current giveaway ending tomorrow the 28th!
 Check out my current sale on my new site, only $9.09 for these earrings right now!
And set a text alert for this lovely silver bee ring valued at $195 starting at only $70 on tophatter!
Auction starts on Oct 2nd.