Showing posts sorted by relevance for query giveaway. Sort by date Show all posts

Wednesday, December 19, 2012

12 Holiday looks & Big Red Bow Set/Gem Collection Giveaway!

From now until December 31st you have the chance to win a Big Red Bow Set!
One lucky winner will be chosen January 2nd and get all the great goodies valued at $432, and remember to leave a comment telling them which blog
 (Very Enchanting at http://akniegirl.blogspot.com/2012/12/big-red-bow-set-and-our-gem-collection.html)
 you heard about this contest from. The blogger who encourages the most entries will win a Big Red Bow Set of their own!
Julep favorites for the special lady in your life.

Get inspired by these 12 looks for the holidays from Julep!  
Add some glitter and try some duo colored manicures for the holidays!

Check out my older post here and here to see how to get these easy to get fun looks!
 Julia and Patti
 Petra & Jordan
Cindy & Hilary
Scarlett & Barbara
 Harper, Vivien & Ivy
Hilary & Sharon
Ivy & Patti
Kathleen & Colbie
Vivien & Scarlett
Vivien & Ivy
Carly & Hilary
 
Barbara & Lucy
Good luck and happy holidays! 

Friday, November 9, 2012

Cherry Blossom Nails

I have recently turned my guest bedroom into a home office and while setting up my new office I decided since this is my own space I can go crazy with pink, shared space with the fiance did not let me do that. While I was changing a few things pink I went ahead and did my nails pink too.
Cherry blossoms :)

 Here is how to get this look. 

Here's what you'll need: A top coat (I use Rimmel Top Coat), a base color, feature colors for branch color and flower color, a dotting tool/tooth pick/small brush, and crystals or mini stainless steel balls. You can use your base color and add white to it like I did.
First, prep for your manicure, to make it last longer. Remove your old polish, if any, and soak your hands in warm water for a few minutes. Trim your nails and push back your cuticles but don't cut them. Do not use lotions or oils on your hands before you start, it may make the dry time longer.
  First apply a coat or two of your base color.
 Wait until your nails are dry to add the branches. If you do not have a brown that you are happy with you can mix colors like I did.
 With your dotting tool, toothpick or small brush add a few branches.
 I mixed the base pink and white together for my flower petal color. 
I wanted something just a little lighter for the flowers.
 With your dotting tool or tooth pick again add 3-4 petals(dots) per flower. 
I added 2-4 flowers on each nail.
 I used these mini stainless steel balls for the center of the flowers. 
You can skip this or crystals also.
 I placed a silver one in the center of each flower.
 Add your top coat and you're done.

Thanks for stopping by, I'd love to see if you give it a try!

Check out my current giveaway!

Tuesday, November 13, 2012

Winter Inspired Pink Glitter Matte Nails

I got my Matte Top Coat add on from Julep last week, it came shortly after my November box!
I wanted to do something kinda wintry and this is what I came up with. I like how it came out but while everything was drying it kind of looked like Elmer's glue mixed with glitter so now that's all I can think off!
Pink Glitter Matte Nails
Here's what you'll need: A matte top coat (I used the new Julep matte top coat), a white base color, glitter, and maybe a small brush.
First, prep for your manicure, to make it last longer. Remove your old polish, if any, and soak your hands in warm water for a few minutes. Trim your nails and push back your cuticles but don't cut them. Do not use lotions or oils on your hands before you start, it may make the dry time longer.
Paint your nails with one or two coats of your base color.
While the polish is still a little wet lightly dip your nail in the glitter.
Make sure to cover your whole nail in the glitter.
Tap the tip of your nail on the lid and whip off extra and loose glitter so you don't waste any.
If you missed any spots you can add some of the glitter on with your brush too.
Add a your matte top coat and you are done!
I applied 2 heavy coats to help cover the texture of the glitter.
For a more winter look try blue glitter. 

Check out my current giveaway, ends 11/20!


Tuesday, October 30, 2012

Halloween Inspired Eyes in the Bushes Nails

I've seen a few eye nail art for Halloween so I wanted to do my own. When I think of eyes on Halloween watching you I think of creepy crawlies in the bushes so this is what I cam up with.

Here's what you'll need: A top coat (I use Rimmel Top Coat), a base color (I went with black and a transparent brown), feature colors for your eyes, bush and stars, a sponge or q-tip, & a toothpick/small paint brush/nail art polish.
First, prep for your manicure, to make it last longer. Remove your old polish, if any, and soak your hands in warm water for a few minutes. Trim your nails and push back your cuticles but don't cut them. Do not use lotions or oils on your hands before you start, it may make the dry time longer.
 Creepy eyes watching you from the bushes!
 Start by painting your nails black, I added a transparent brown polish over the black for mine.
 Using a q-tip or sponge cover about 2/3 of your nail with your bush polish, I didn't have a good green color so I mixed two greens.
 With a dotting tool, nail art brush or a tooth pick add a few eyes.
 With a smaller dotting tool or other add the pupil of the eyes.
 If you's like add some glittery stars to your night sky.
 I mixed some green and the brown I used on the black to add some "texture" to the bushes. it looks better in person than it does in the picture!
 Apply your top coat and you are done!

Happy Halloween!

Check out my November Giveaway!

Saturday, September 15, 2012

Galaxy Nail Art Inspired Jewelry Makeover

Galaxy Nail Art Inspired Ring Makeover
I was cleaning out my jewelry box the other day and I found these old plastic rings I bought at the mall many years ago, I think I bought the at a Hot Topic when I was a little more on the goth side. I didn't want to throw them out because I still think they looked pretty neat but they were a little boring all black.

I was going to do an ombre fading something on them with bright colors but since there is so much room on them & since I'm kinda a huge nerd obsessed with Star Trek I thought I do a "galaxy" design instead.

If you want to give it a shot with some old jewelry of yours this is what you'll need:

Color polish & glitter polish or paint & glitter- I like polish because it drys fast and drys glossy. 

Sponge- I use just a makeup sponge.

Toothpick or nail art tool- For the stars.

Paper towel or a place to make a mess. 

To start with if the piece is dark color or depending on the polish you are using you may want to apply a white polish or paint to the base to make your colors pop.
Apply your white and then base color.
Apply your other colors without completely covering your base colors, you want the different colors to show. 
I would recommend using yellows and pinks too. For the first ring I did I stopped with the blue and some purple, I think the second ring I did with more colors came out much better.
Apply your glitter polishes.
 I used a fine glitter all over and two other glitters with a mix of sizes for a more dramatic look of stars.
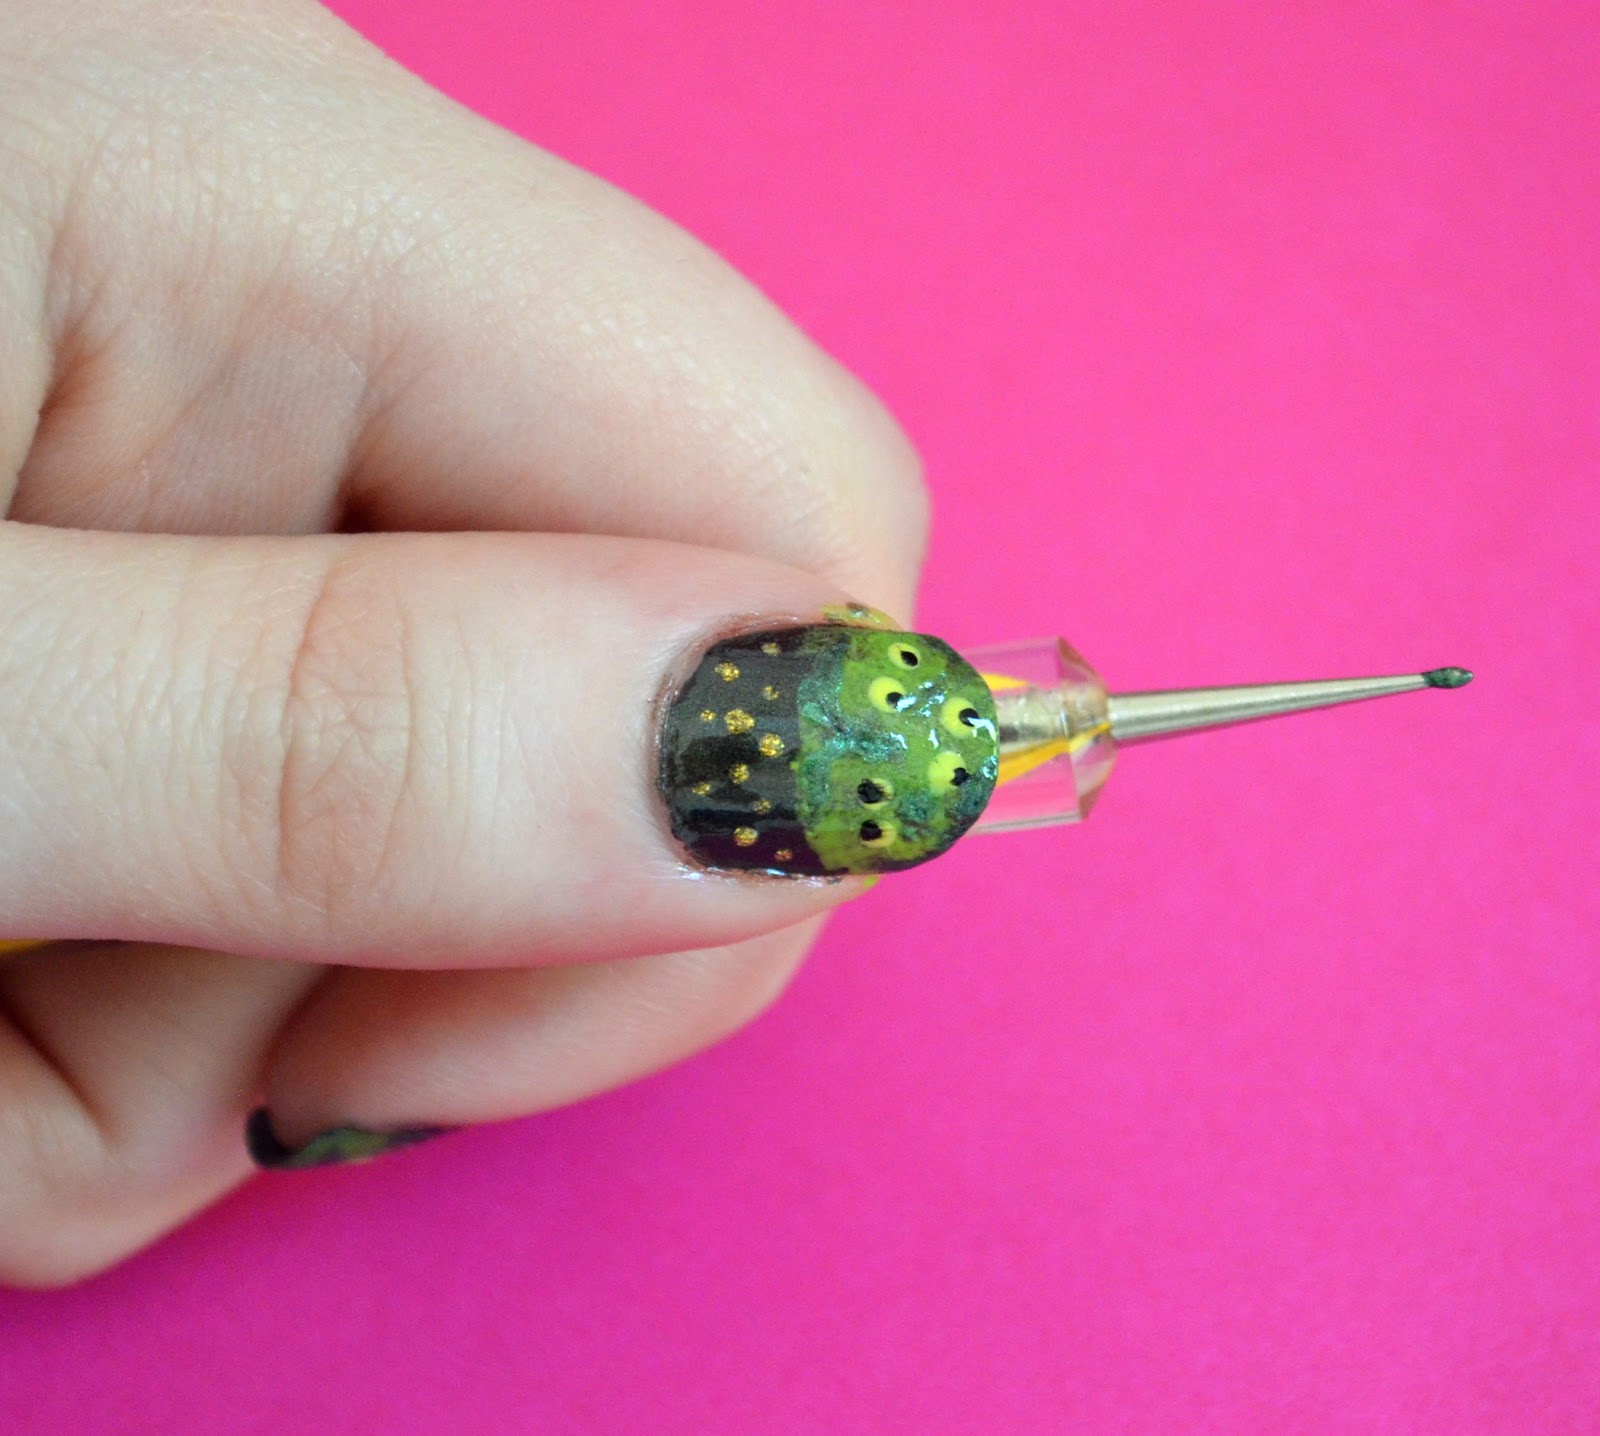
I used a small dotting tool for my stars.
With your dotting tool or toothpick pick up some polish and start making some stars!
  Set the ring to dry. You can sponge on some clear polish or a sealer if you want. I like glossy so I dabbed on some clear polish, it also helped make the color pop.
I like how both rings turned out but I really love the colors in the second ring.
Done and done! 

If you liked this post check out my tutorial for an ombre inspired picture frame also painted with nail polish!
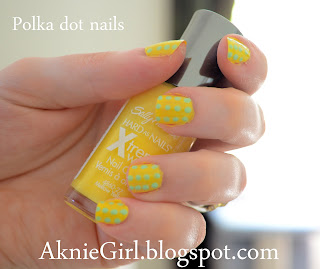
 And if you liked my nails check out my simple polka dot tutorial.

Thanks of stopping by, hope you enjoyed!

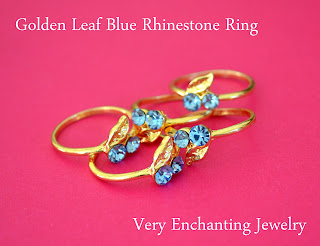
Stop by facebook to enter my giveaway to win a cute little ring!